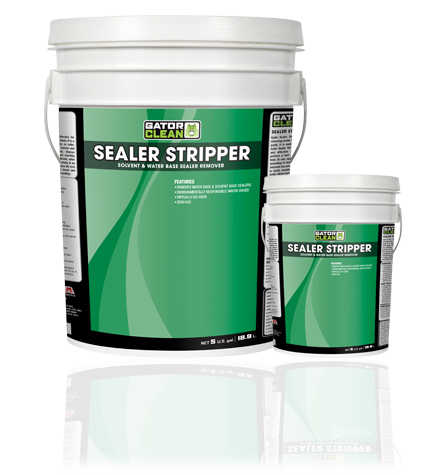
GATOR SEALER STRIPPER is extremely effective for removing sealer from concrete paver or stone. It is a paste, it is easily applied with a brush, or roller. GATOR SEALER STRIPPER is formulated to remain wet and effective over extended periods. Always perform a test area to determine exact reacting time. To use, apply to surfaces with a brush, roller according to test patch results. Once is ready to be removed use power washer to strip surface. Be sure to scrub remaining residue with nylon brush and water. Allow surfaces to air dry before resealing.
| Product | Retail Size | Per Box | Per Pallet |
|---|---|---|---|
| GATOR SEALER STRIPPER | 3.78 L (1 US gal.) | 4 units | 24 boxes |
| GATOR SEALER STRIPPER | 18.9 L (5 US gal.) | 48 boxes |

Remove all non stationary objects such as: furniture, flower pot arrangements, statuary etc. Ensure to water all vegetation, grass and protect larger vegetation by creating a wall barrier with 5′ – 6′ stake, Gator Fabric and a bed of coarse sand at the bottom of the fabric to avoid any contamination and over spilling to the vegetation (Photo 1). It is also recommended to lay a bed of coarse sand on the perimeter of the pool to ensure no spilling of the GATOR SEALER STRIPPER into the pool. All standing structures, such as house wall, deck, outdoor kitchen or other be also covered with plastic and hold in place with exterior painters tape. Avoid using tape that could leave glue mark (Photo 2).
Mark the sections to be clean in increment of 40 to 50 sq. ft. (3.7 sq. m. to 4.7 sq. m.) (One gallon will cover 40-50 sq. ft. (3.7 sq. m. to 4.7 sq. m.)). Ensuring proper application of the product is vital to the success of a proper sealer removal. Apply the GATOR SEALER STRIPPER with the help of a brush or roller no less than 1/8″ (3 mm) in thickness. On irregular surfaces use a nylon brush to force paste into intricate areas. Cover all treated surfaces with a plastic sheet. If not covered the sealer will re-adhere to the paved surface when dry.
Note: GATOR SEALER STRIPPER will need to react for at least 12 hours. Always start at the lowest point of the paved surface. (Photo 3) You are now ready for the cleaning process. To prevent the area from drying too fast, remove by section of 10 ft x 10 ft (3 m x 3 m) the plastic and shop vacuum the area. (Photo 4) Vacuuming reduces the amount of contaminants that will be washed off. It’s important to already have your pressure washer hooked up and ready to go.
Ensure to pressure wash all paved surfaces already vacuumed. Immediately use a nylon brush and clean water to scrub residue off the surfaces. Rinse thoroughly with water to remove all remaining residue, for optimal results, low pressure washing is recommended for final rinse. (Photo 5) Dispose of dissolved coatings according to federal, state and local regulations. As shown (Photo 6), the mixture of stripper softened sealer and water forms a white layer. This layer contains remaining sealer and GATOR SEALER STRIPPER, that is only removed by carefully pressure washing and rinsing the area. If not done properly, steps 2 to 4 will need to be repeated.
The runoff from rinsing should be contained as best as possible. Sand berms should be created along the edge to re-directed the water to one area. To minimize damage, re-directed the water at lowest point, where it could be vacuumed properly disposed of.
Use a tarp or drop-cloth as a staging area off site. This tarp should be where everyone removes or stores boots, dirty tools, trash bags, and empty buckets. Oil resistant boots should be worn at all times.
Jeudi 21 Mars
1 : 00 PM
Mercredi 20 Mars
1 : 00 PM