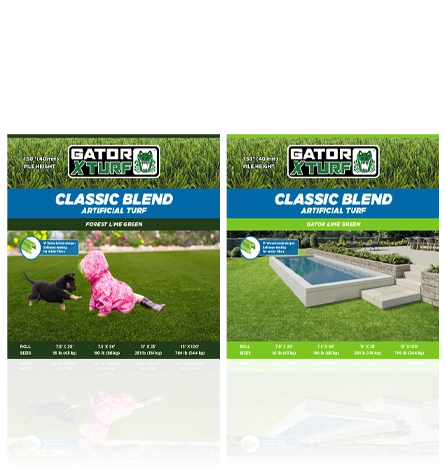
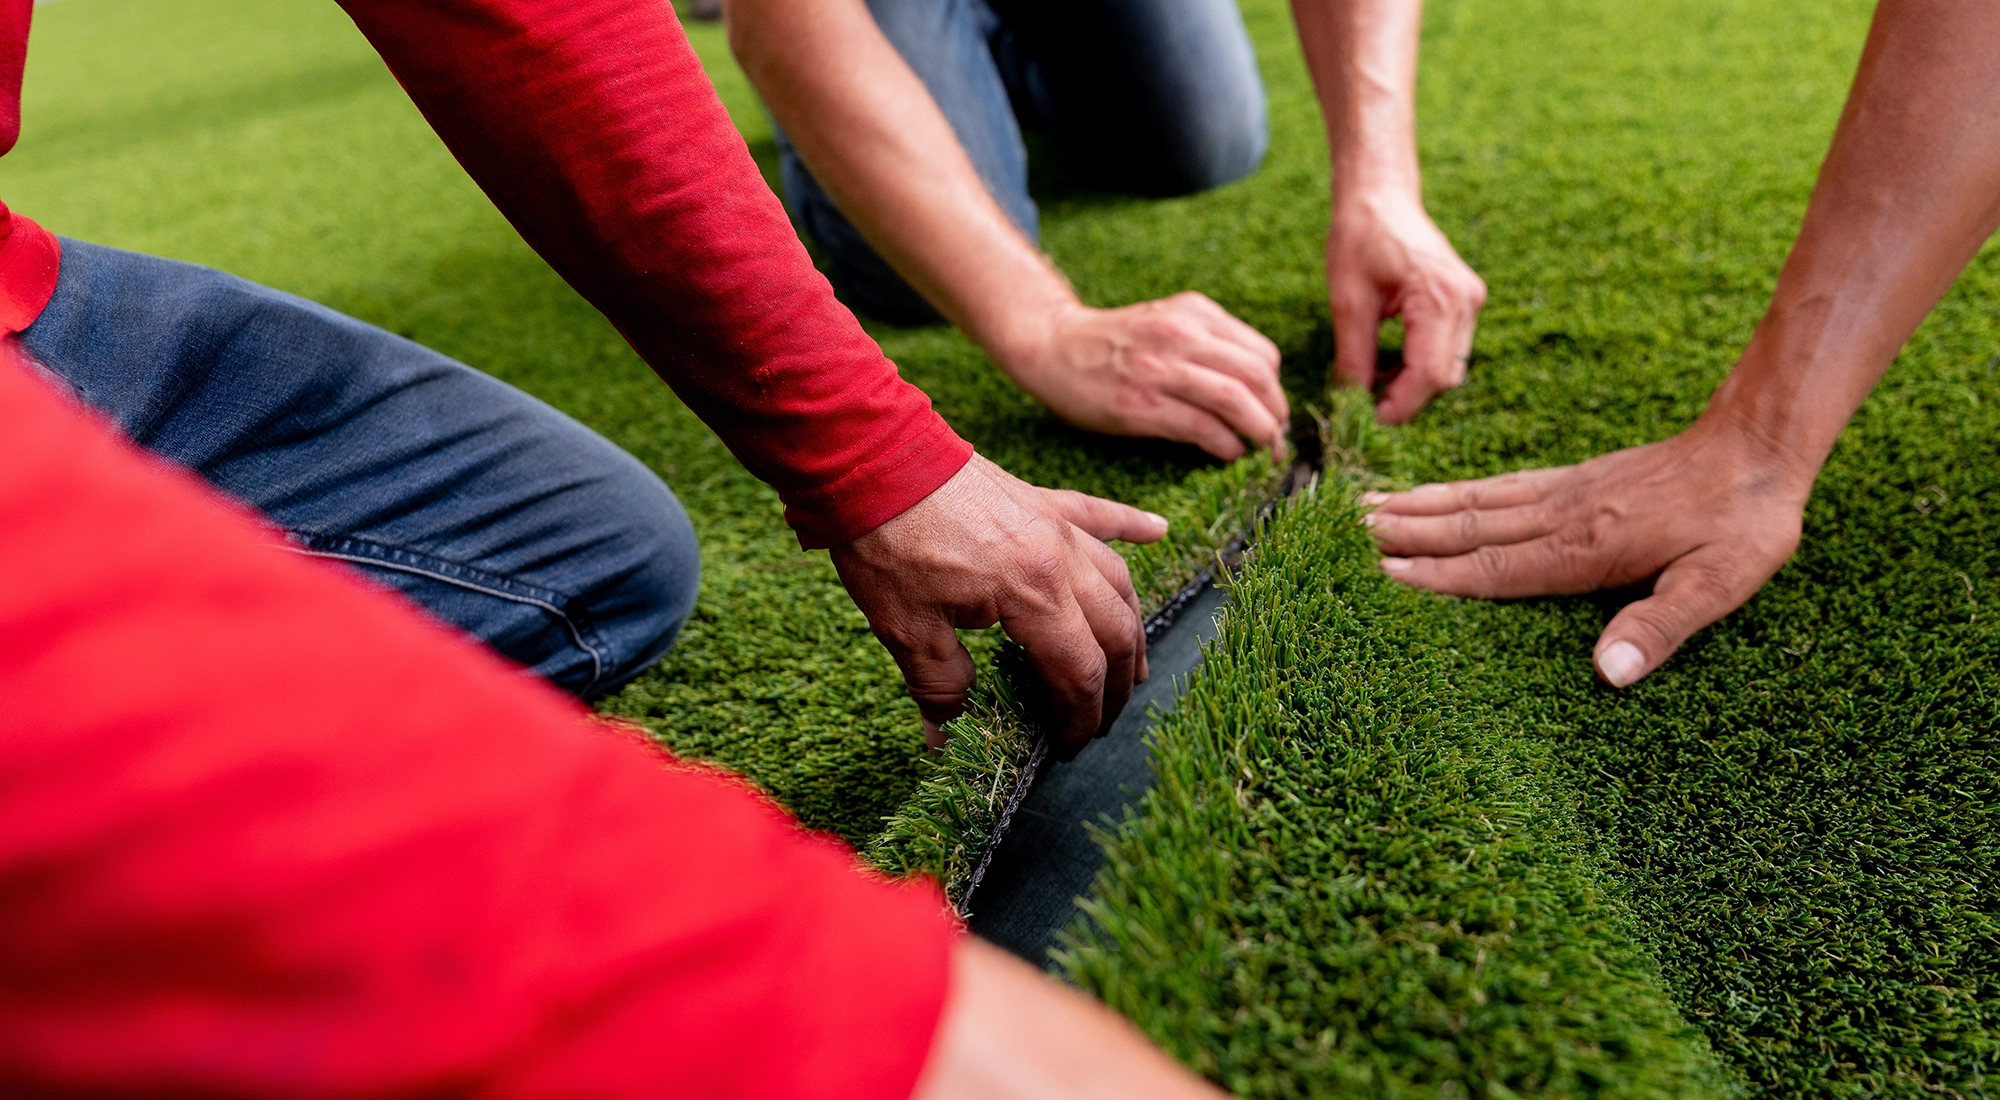
GATOR XTURF CLASSIC BLEND artificial turf is the perfect choice for playgrounds and pet areas where aesthetics is important. Designed for residential use, this product features a unique blend of colors, including Gator Forest Green and Gator Lime Green, that will enhance any part of your property. The W-shaped blades of the turf help keep the surface cooler, making it comfortable to use. Additionally, GATOR XTURF CLASSIC BLEND is free from heavy metals and harmful substances, and it meets fire resistance standards for both indoor and outdoor applications. This turf is an ideal replacement for natural grass in areas with moderate traffic, requiring low maintenance. Enjoy a beautiful and healthy home life with GATOR XTURF CLASSIC BLEND.
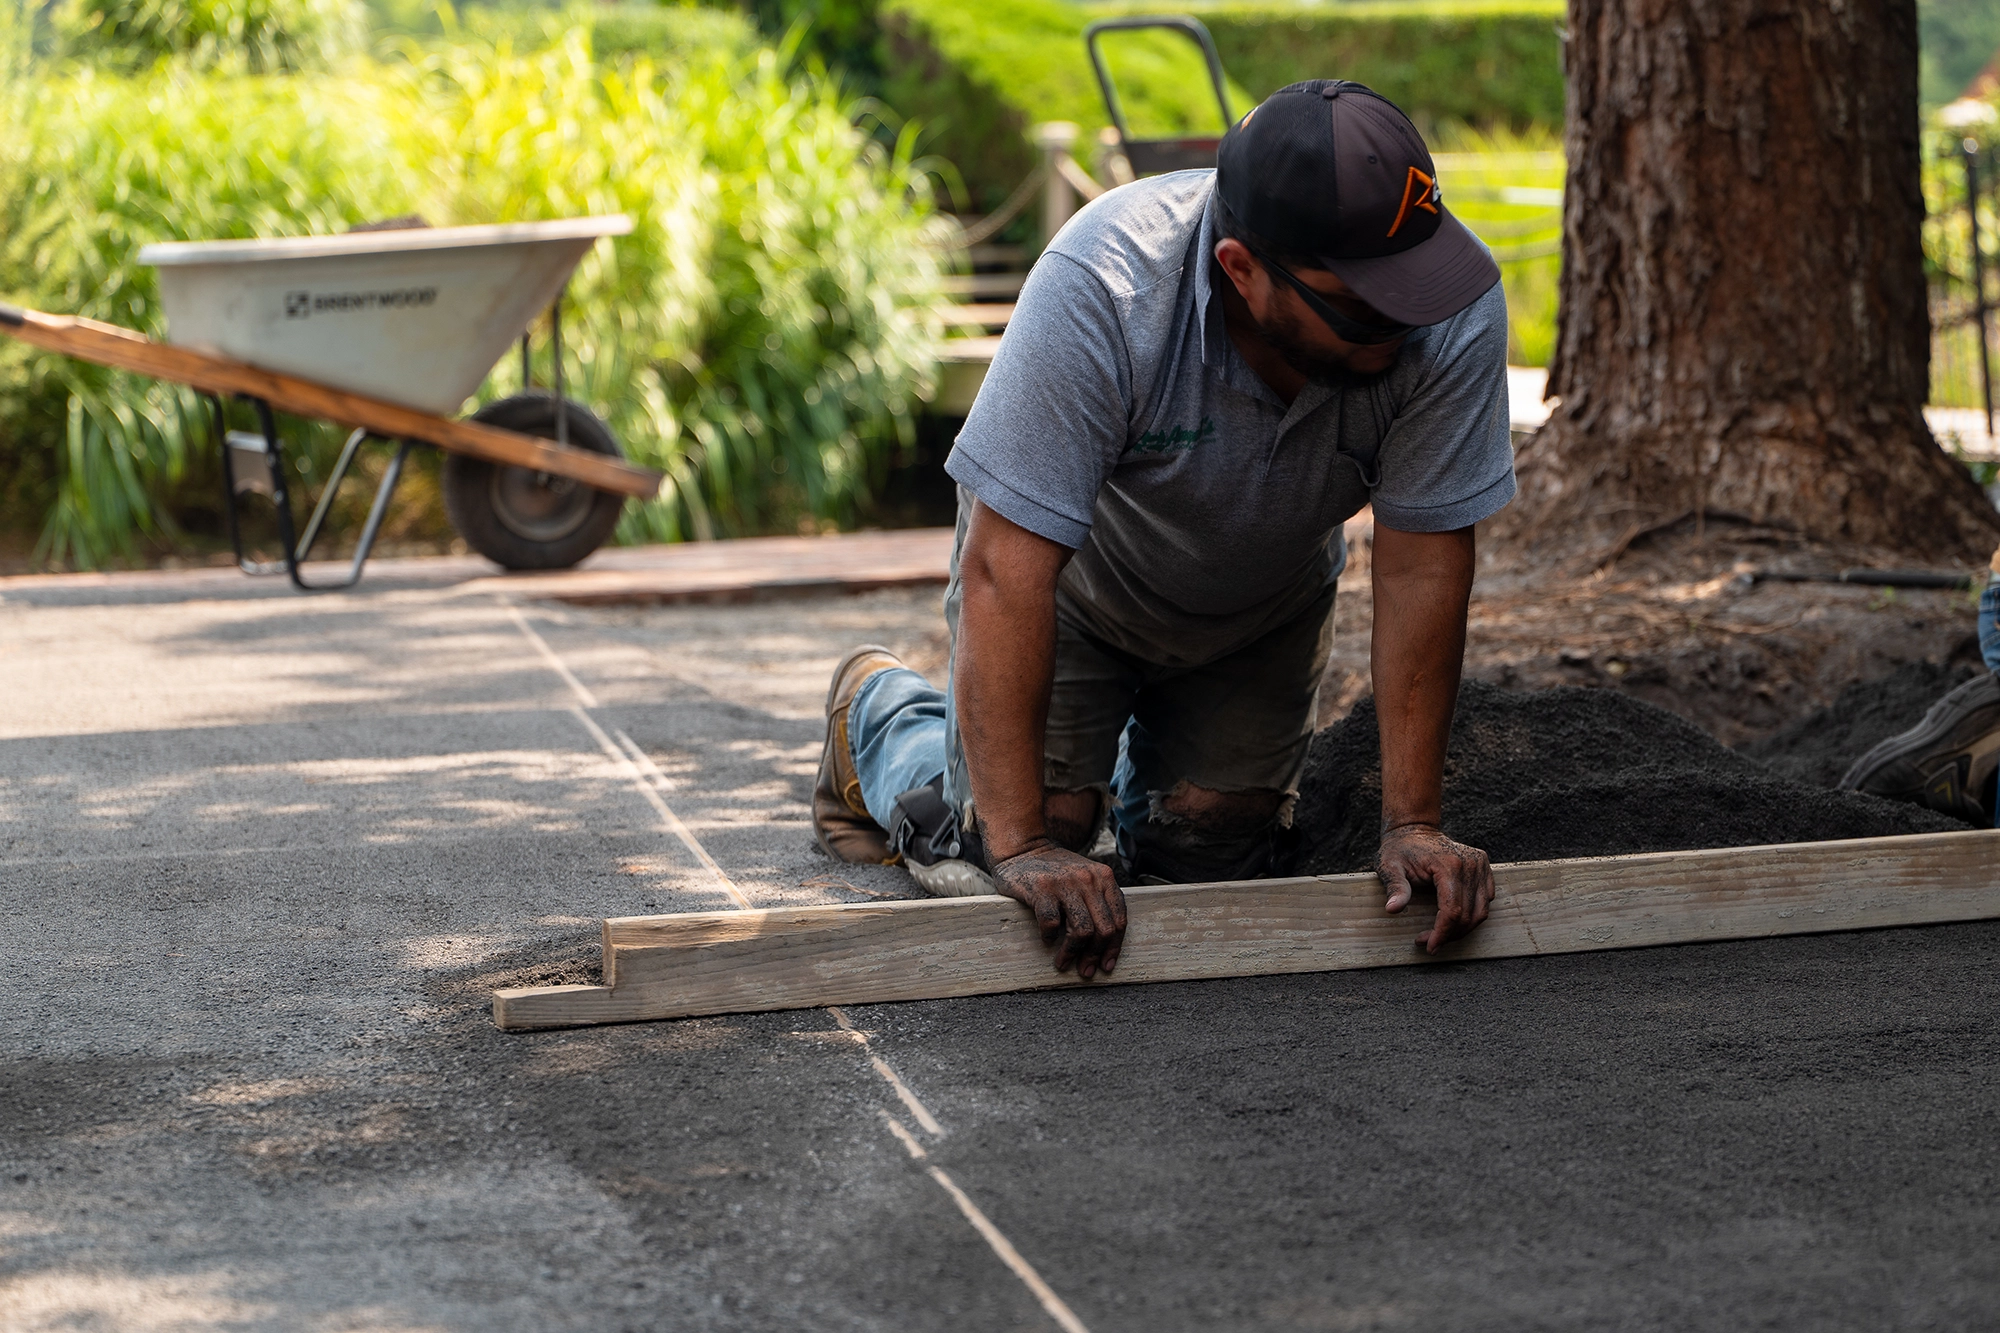
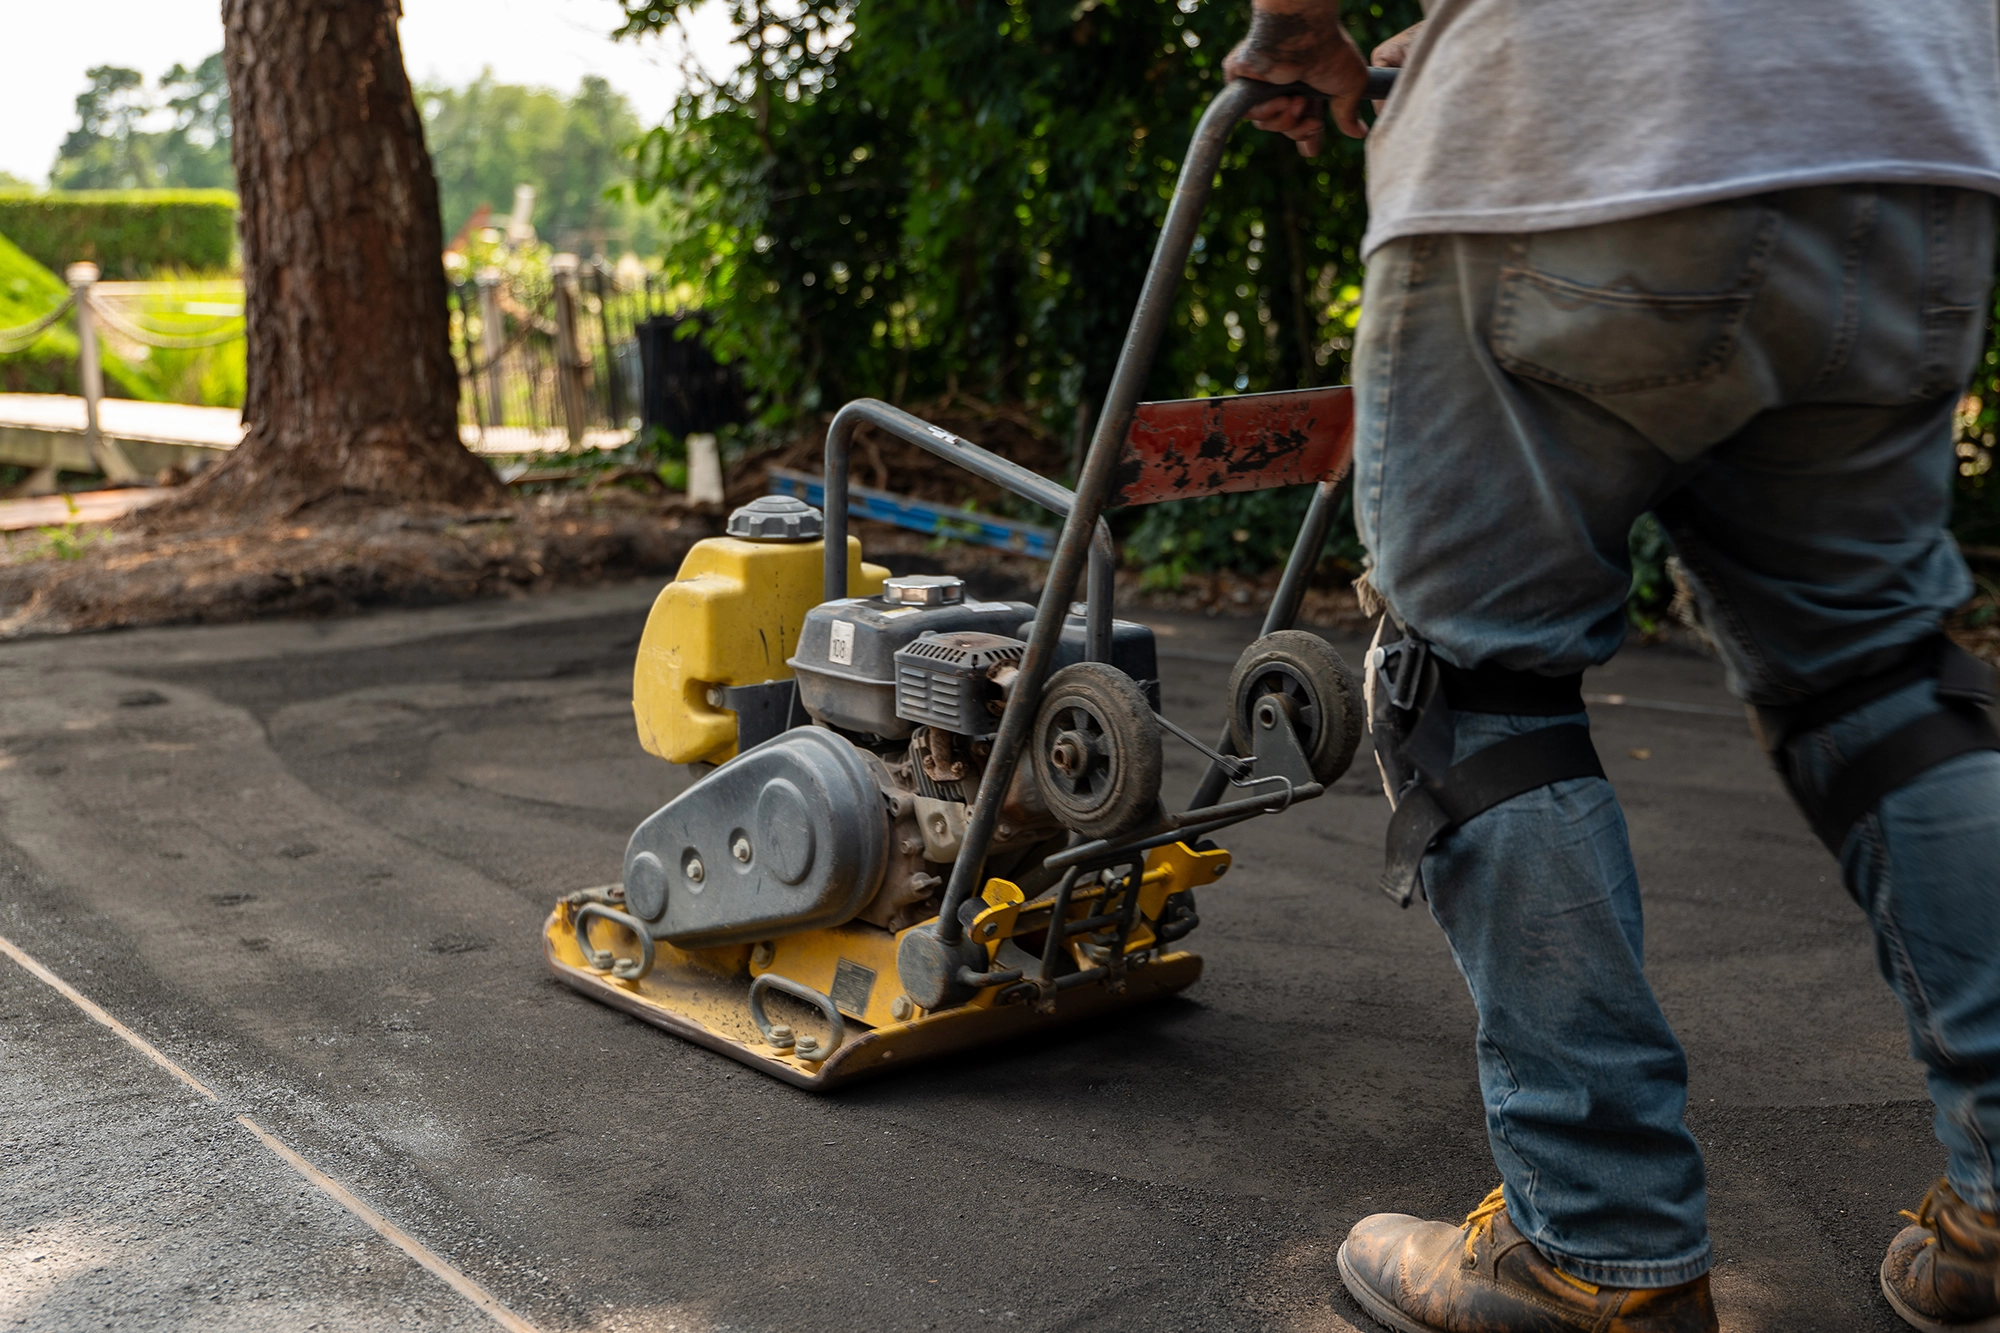
- Residential and moderate traffic landscaping
- Gator Forest Green or Gator Lime Green
- Comfortable
- Soft touch
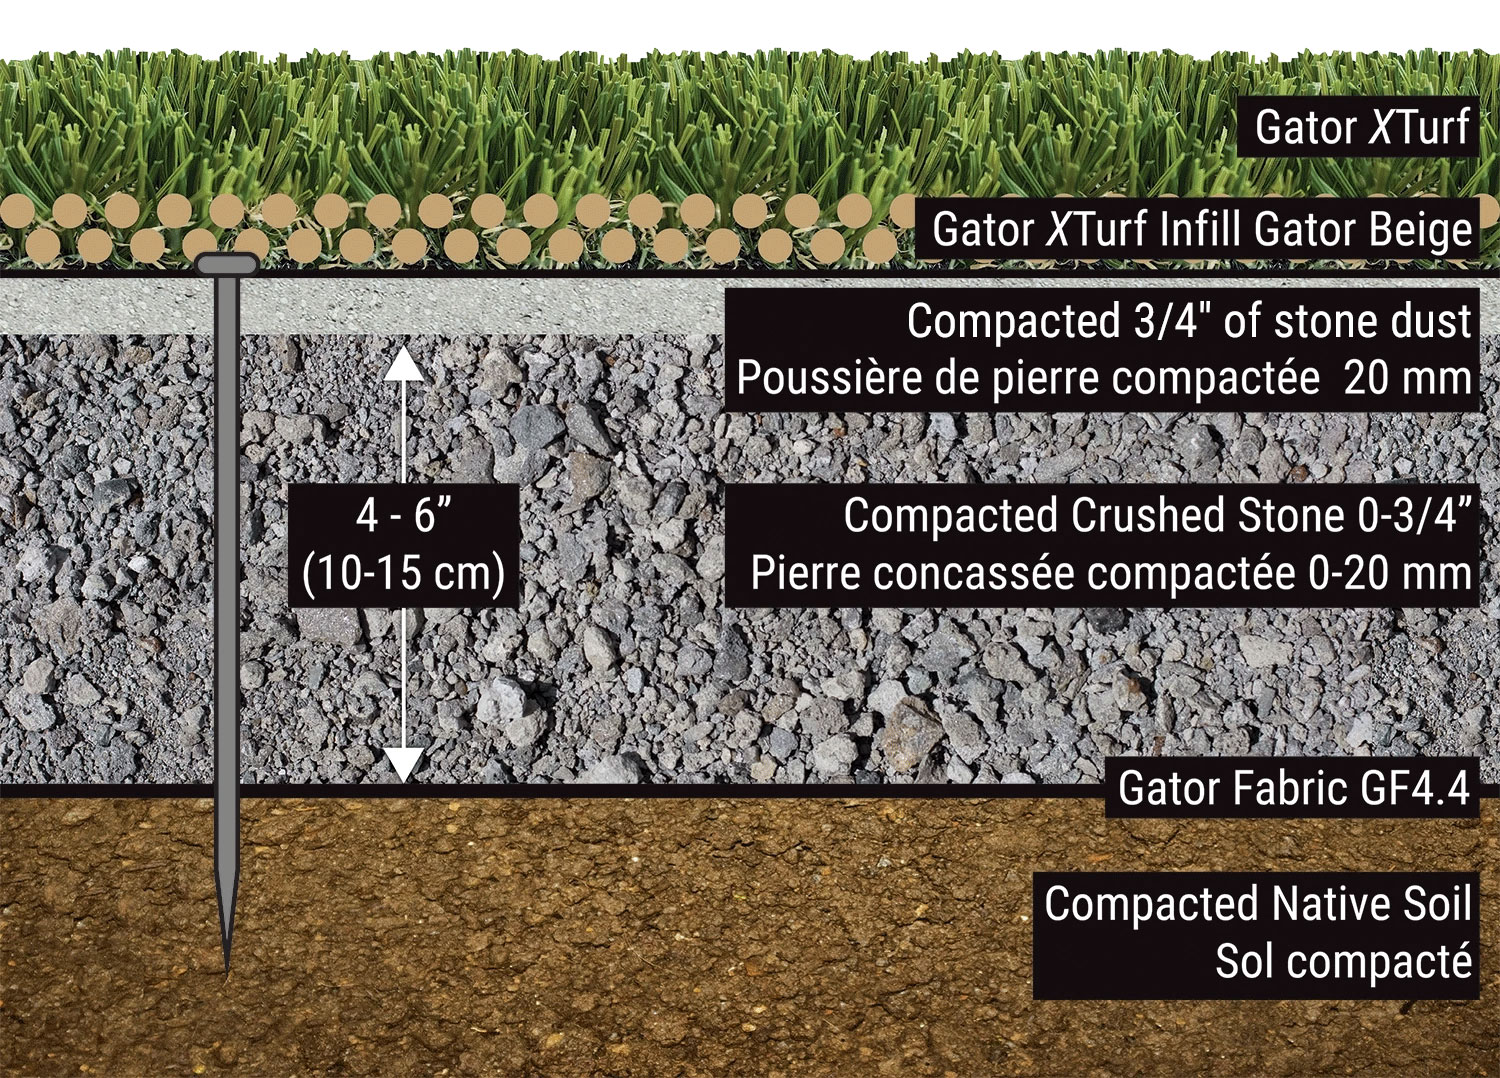
- Shorter Pile Height 1.58’’ (40 mm) ± 3%
- Face Weight 47 oz/sq.yd ± 5%
- Total weight of the face and the backing 73 oz/ sq.yd
- No mowing • No watering
- 20-year warranty
| SPECS | Description | Units | Gator Forest Green | Gator Lime Green |
| Color details | Different colors of the yarns used | N/A | Dark Green/Olive | Dark Green/Olive/Lime |
| Grass Zone Yarn material | Chemical composition | N/A | Polyethylene | Polyethylene |
| Grass Zone Denier | Density of the turf blade fiber | in grams every 9000 m of fiber yarn. With no. of threads | 6 900 / 5 | 6 900 / 5 |
| Grass Zone D-Tex | Density of the turf blade fiber | in grams every 10 000 m of fiber yarn with no. of threads | 7 666 / 5 | 7 666 / 5 |
| Thatch zone material | Chemical composition | N/A | Polypropylene | Polypropylene |
| Thatch Zone Yarn Color | Different colors of the yarns used | N/A | Green/Beige | Green/Beige |
| Thatch Zone Denier | Density of the thatch fiber | in grams every 9000 m of fiber yarn. With no. of threads | 2 800 / 8 | 2 800 / 8 |
| Thatch D-Ttex | Density of the thatch fiber | in grams every 10 000 m of fiber yarn with no. of threads | 3 111 / 8 | 3 111 / 8 |
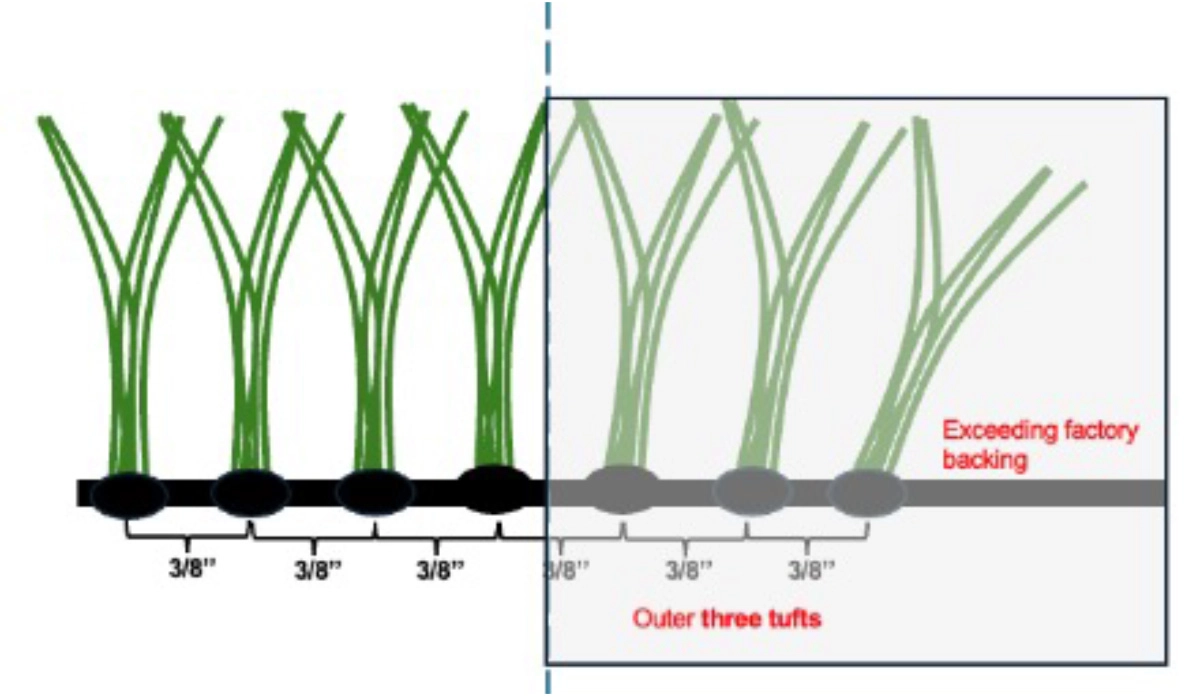
| Grass Zone Yarn Shape | Blade shape is so important to the look, function and longevity of your lawn | Omega, C, Diamond, S, M, U, V and W | Wave Blade (keep turf 15 degrees cooler) | Wave Blade (keep turf 15 degrees cooler) |
| Finished Pile Height | Height of the blades | Inches (mm) | 1.58 (40) | 1.58 (40) |
| Finished Face Weight | The number of ounces of fiber per square yard in the face of the turf (not including the backing) | oz/yd2 | 47 | 47 |
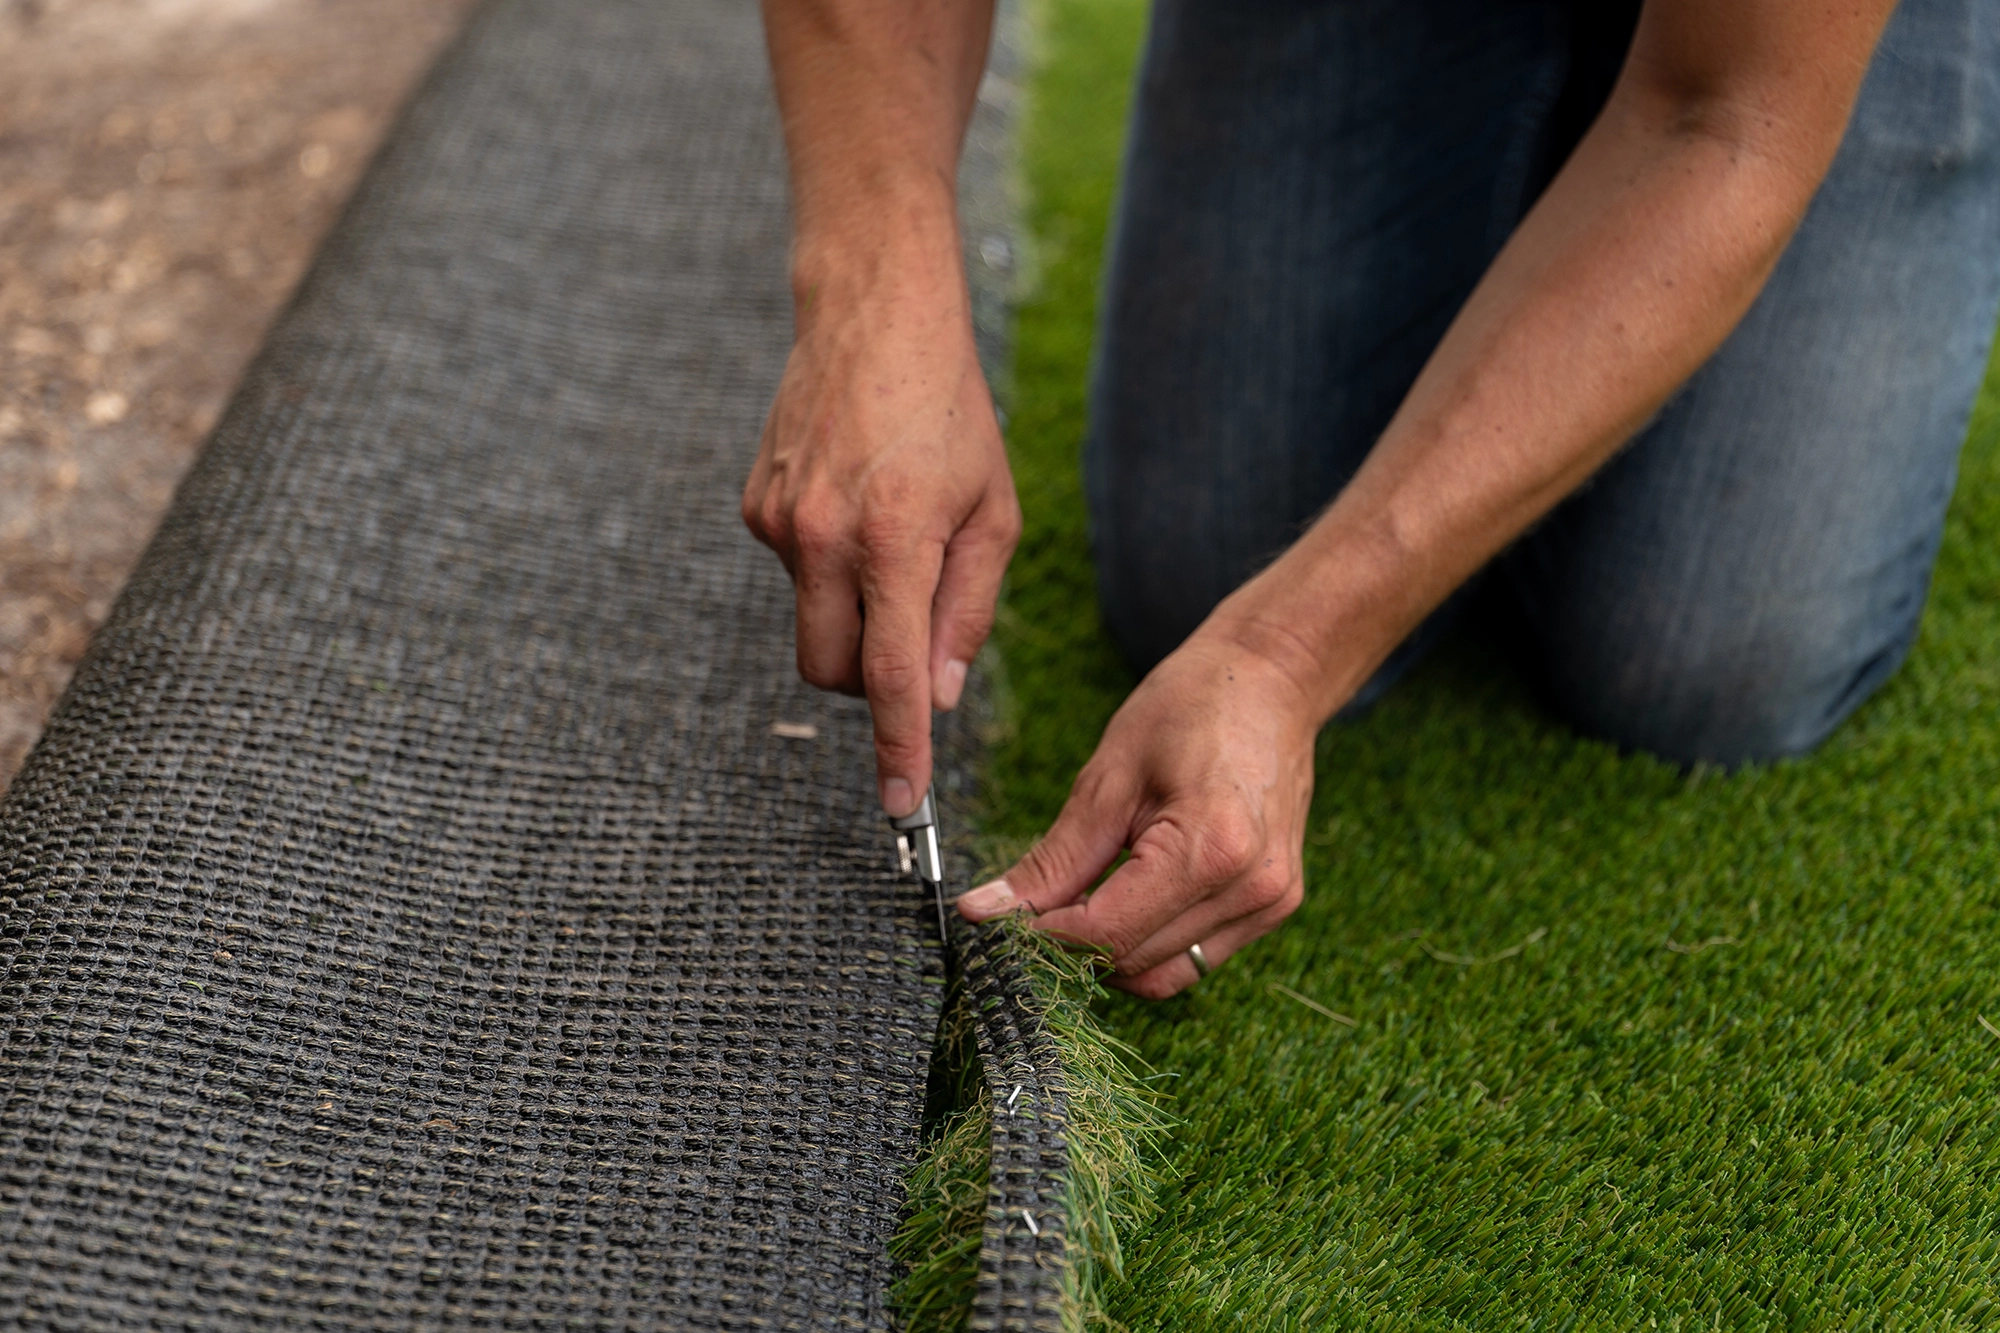
| Backing | Type of backing | N/A | Dual PP Layers | Dual PP Layers |
| Tuft Gauge | Distance between the yarns of synthetic turf | Inches (mm) | 3/8 (9,5) | 3/8 (9,5) |
| Total Weight | Weight of the face and the backing | oz/yd2 | 73 | 73 |
| Tuft Bind | Force required to pull a “tuft” out of a carpet | lb | >8 | >8 |
| Permeability | Drainage of water | mm /hr | 180 | 180 |
| Fabric Construction | Type of fabric | N/A | Tufted | Tufted |
| Primary Backing | First coat of backing | N/A | Dual PP Layers | Dual PP Layers |
| Coating Type | Chemical composition | N/A | Polyurethane | Polyurethane |
| Primary Backing Weight | Weight of the primary backing only | oz/yd2 | 6 | 6 |
| Secondary Coating Weight | Weight of the secondary backing only | oz/yd2 | 20 | 20 |
| Pile Elongation Break | % of elongation of pile material at break | % | 160 | 160 |
| Flammability | ASTM F-1551-9 | N/A | Passed | Passed |

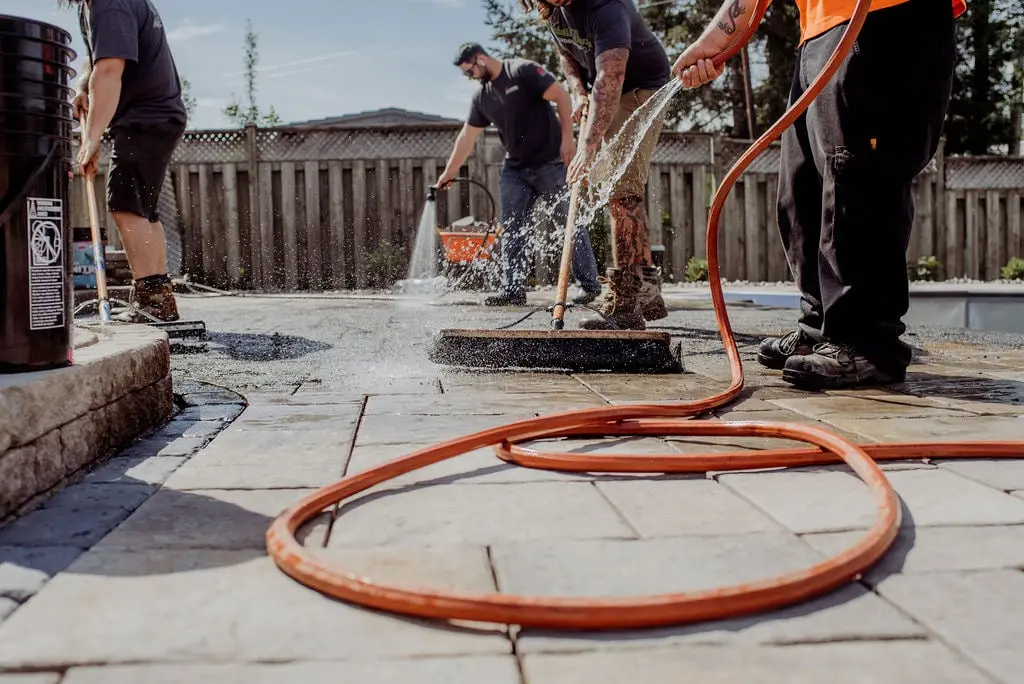
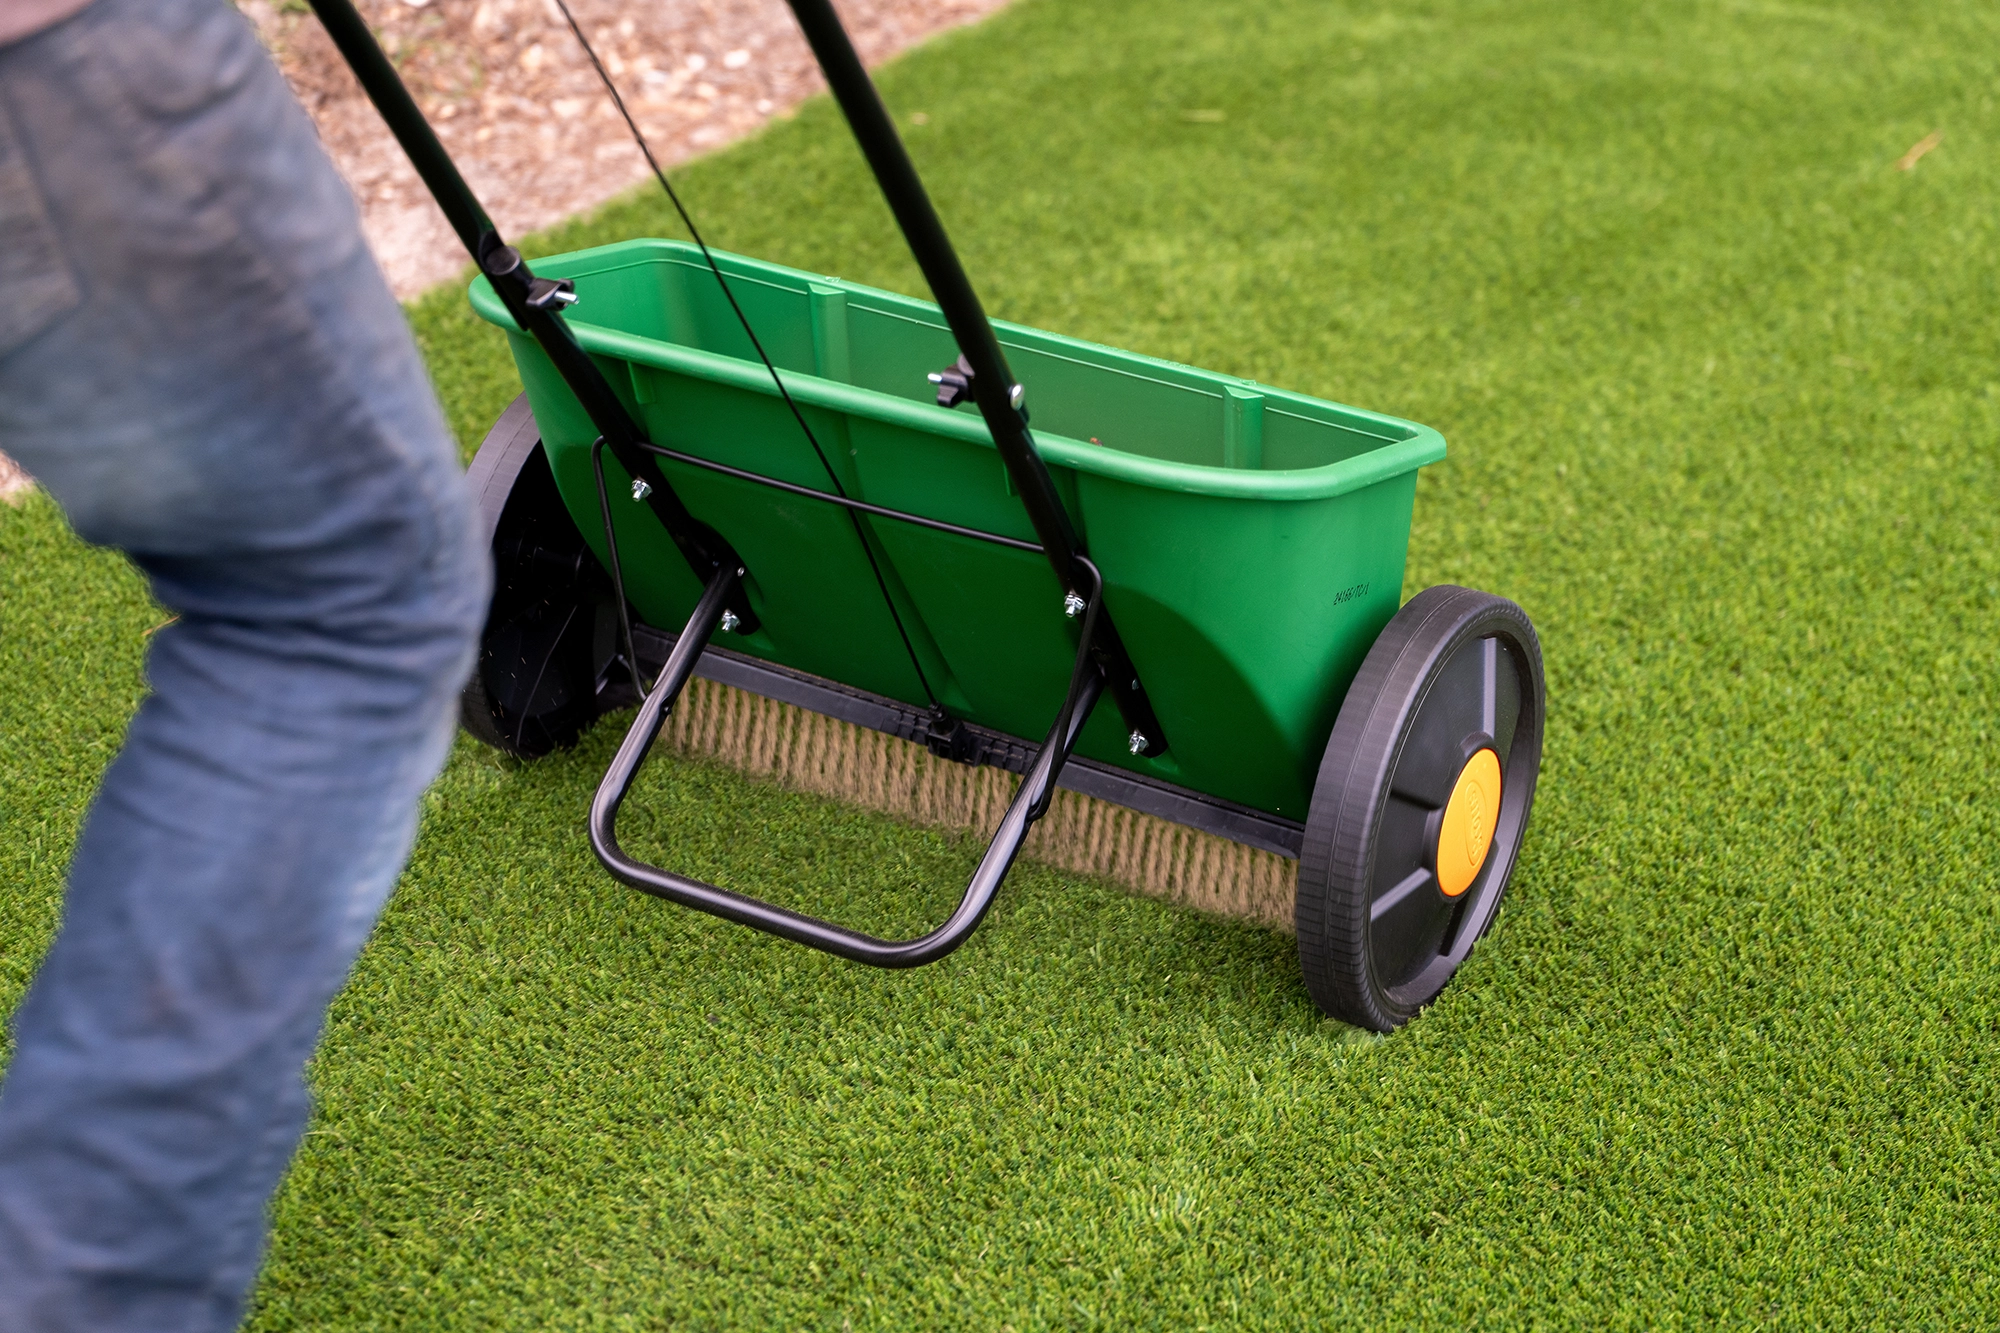
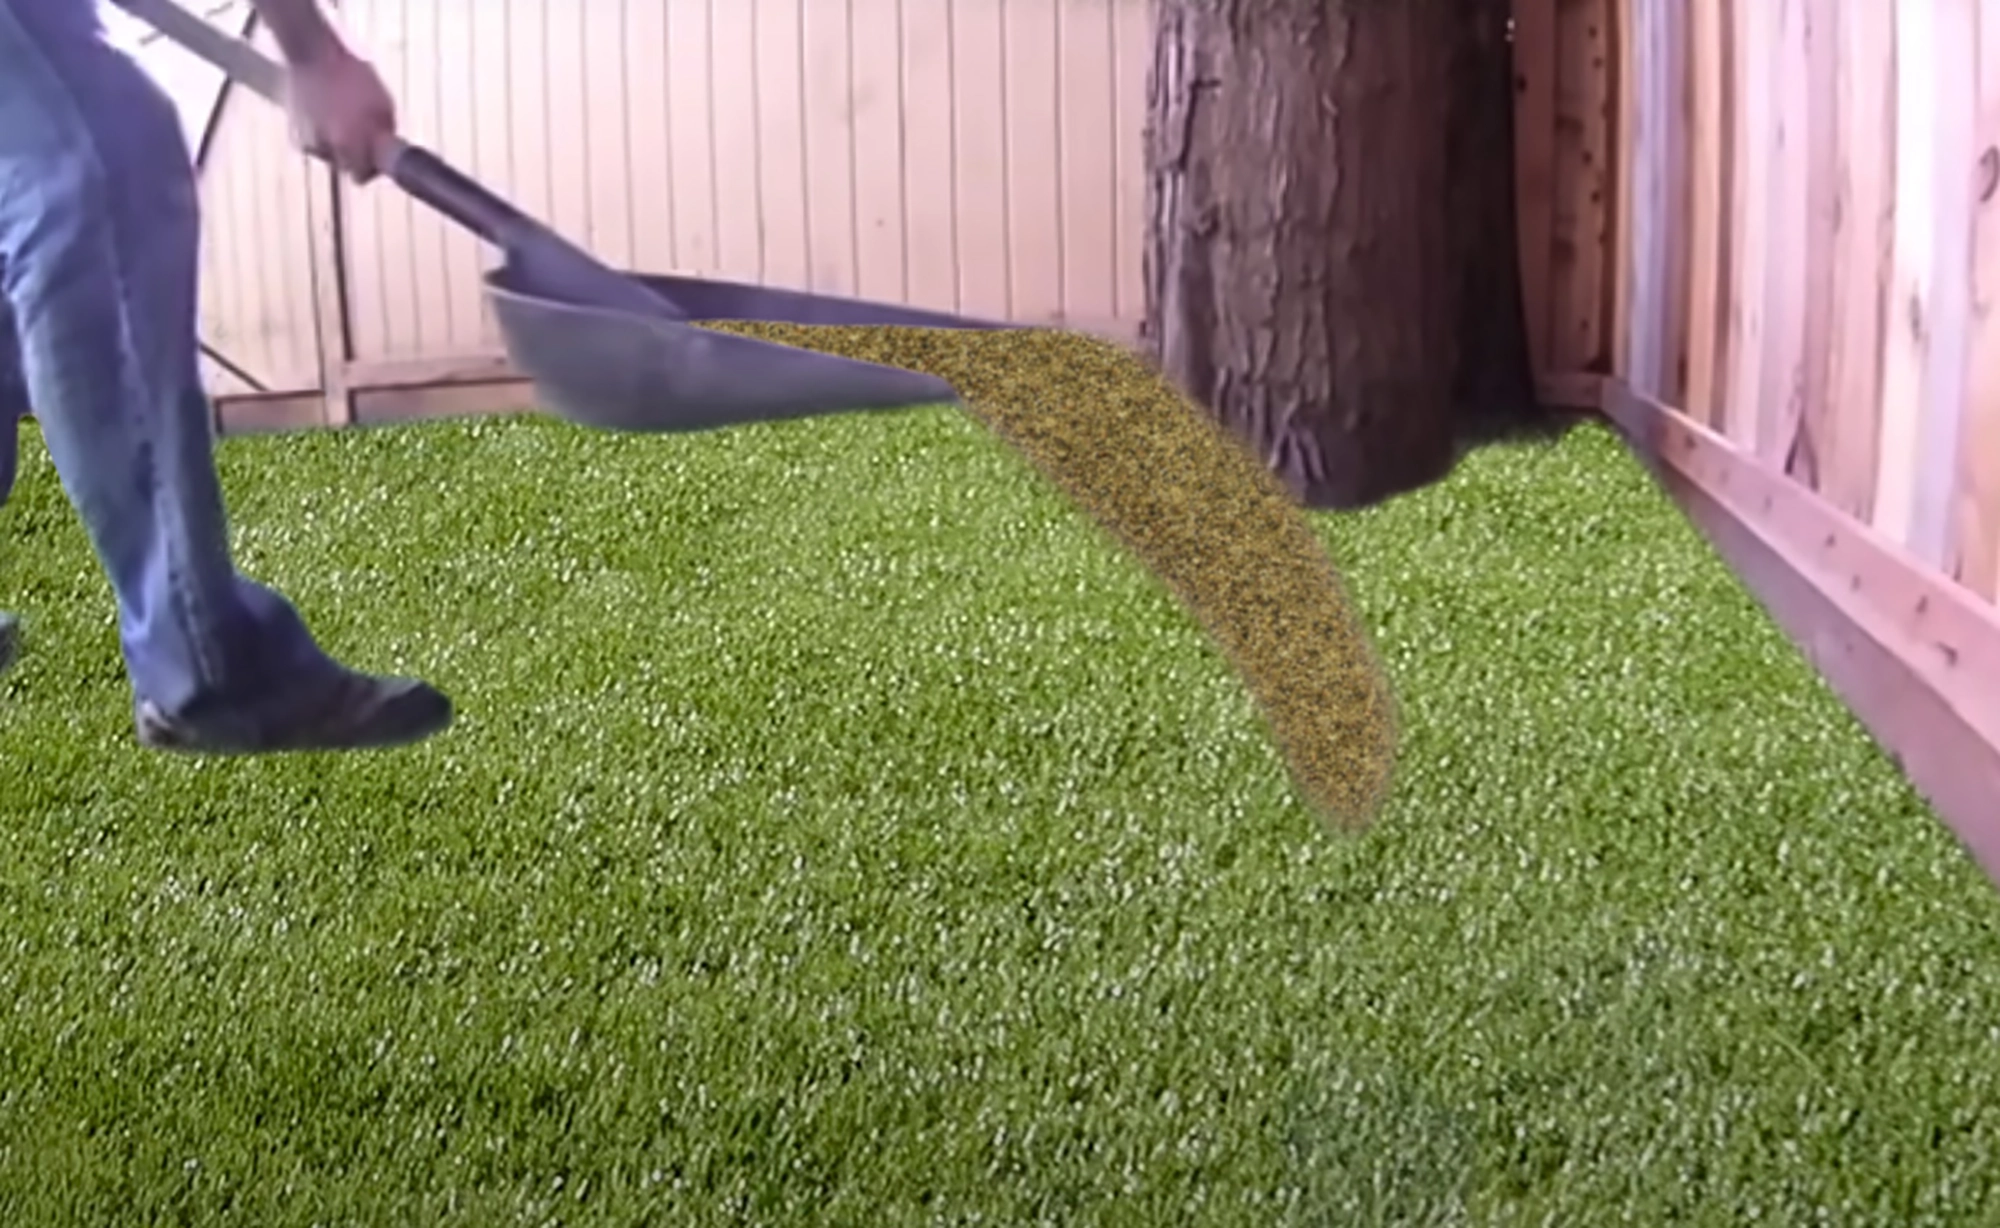
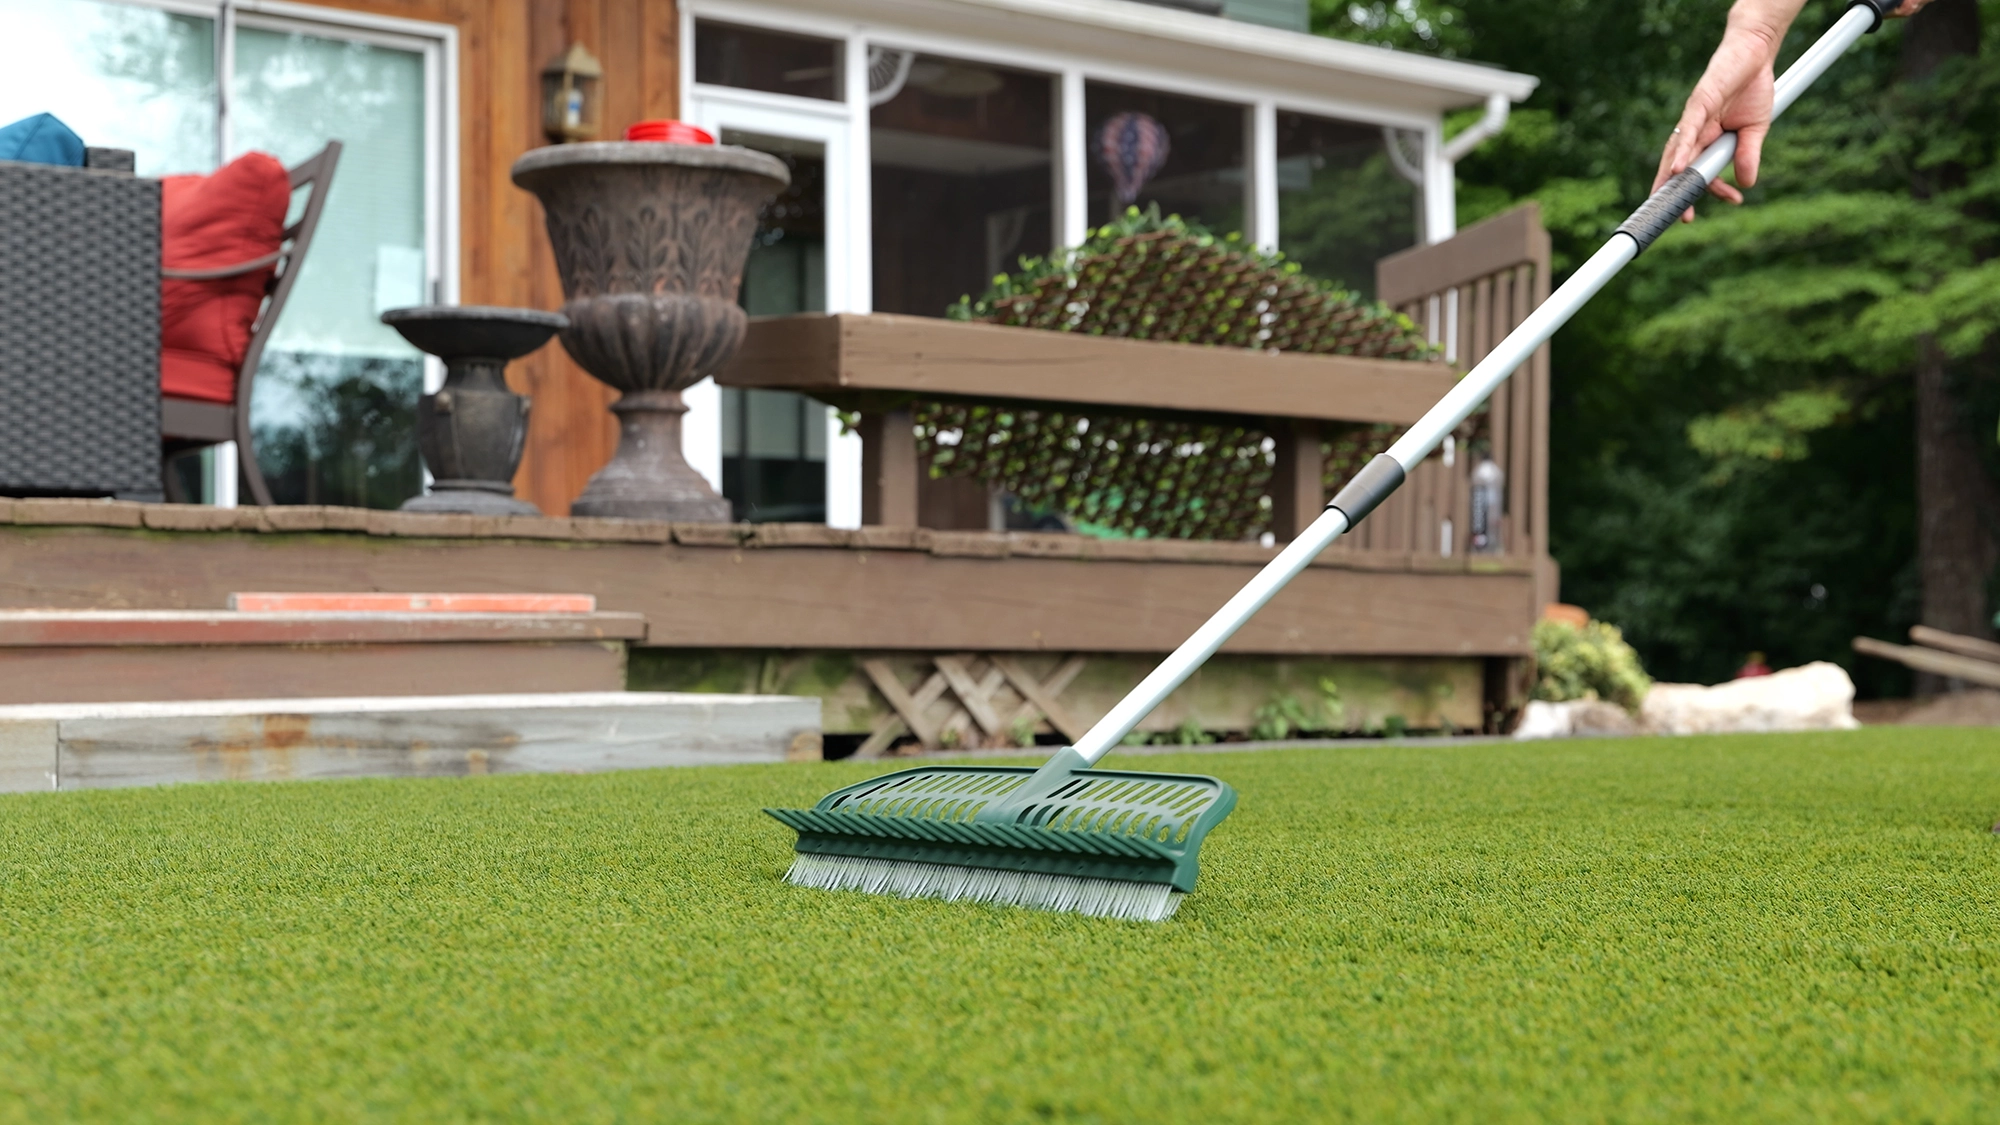
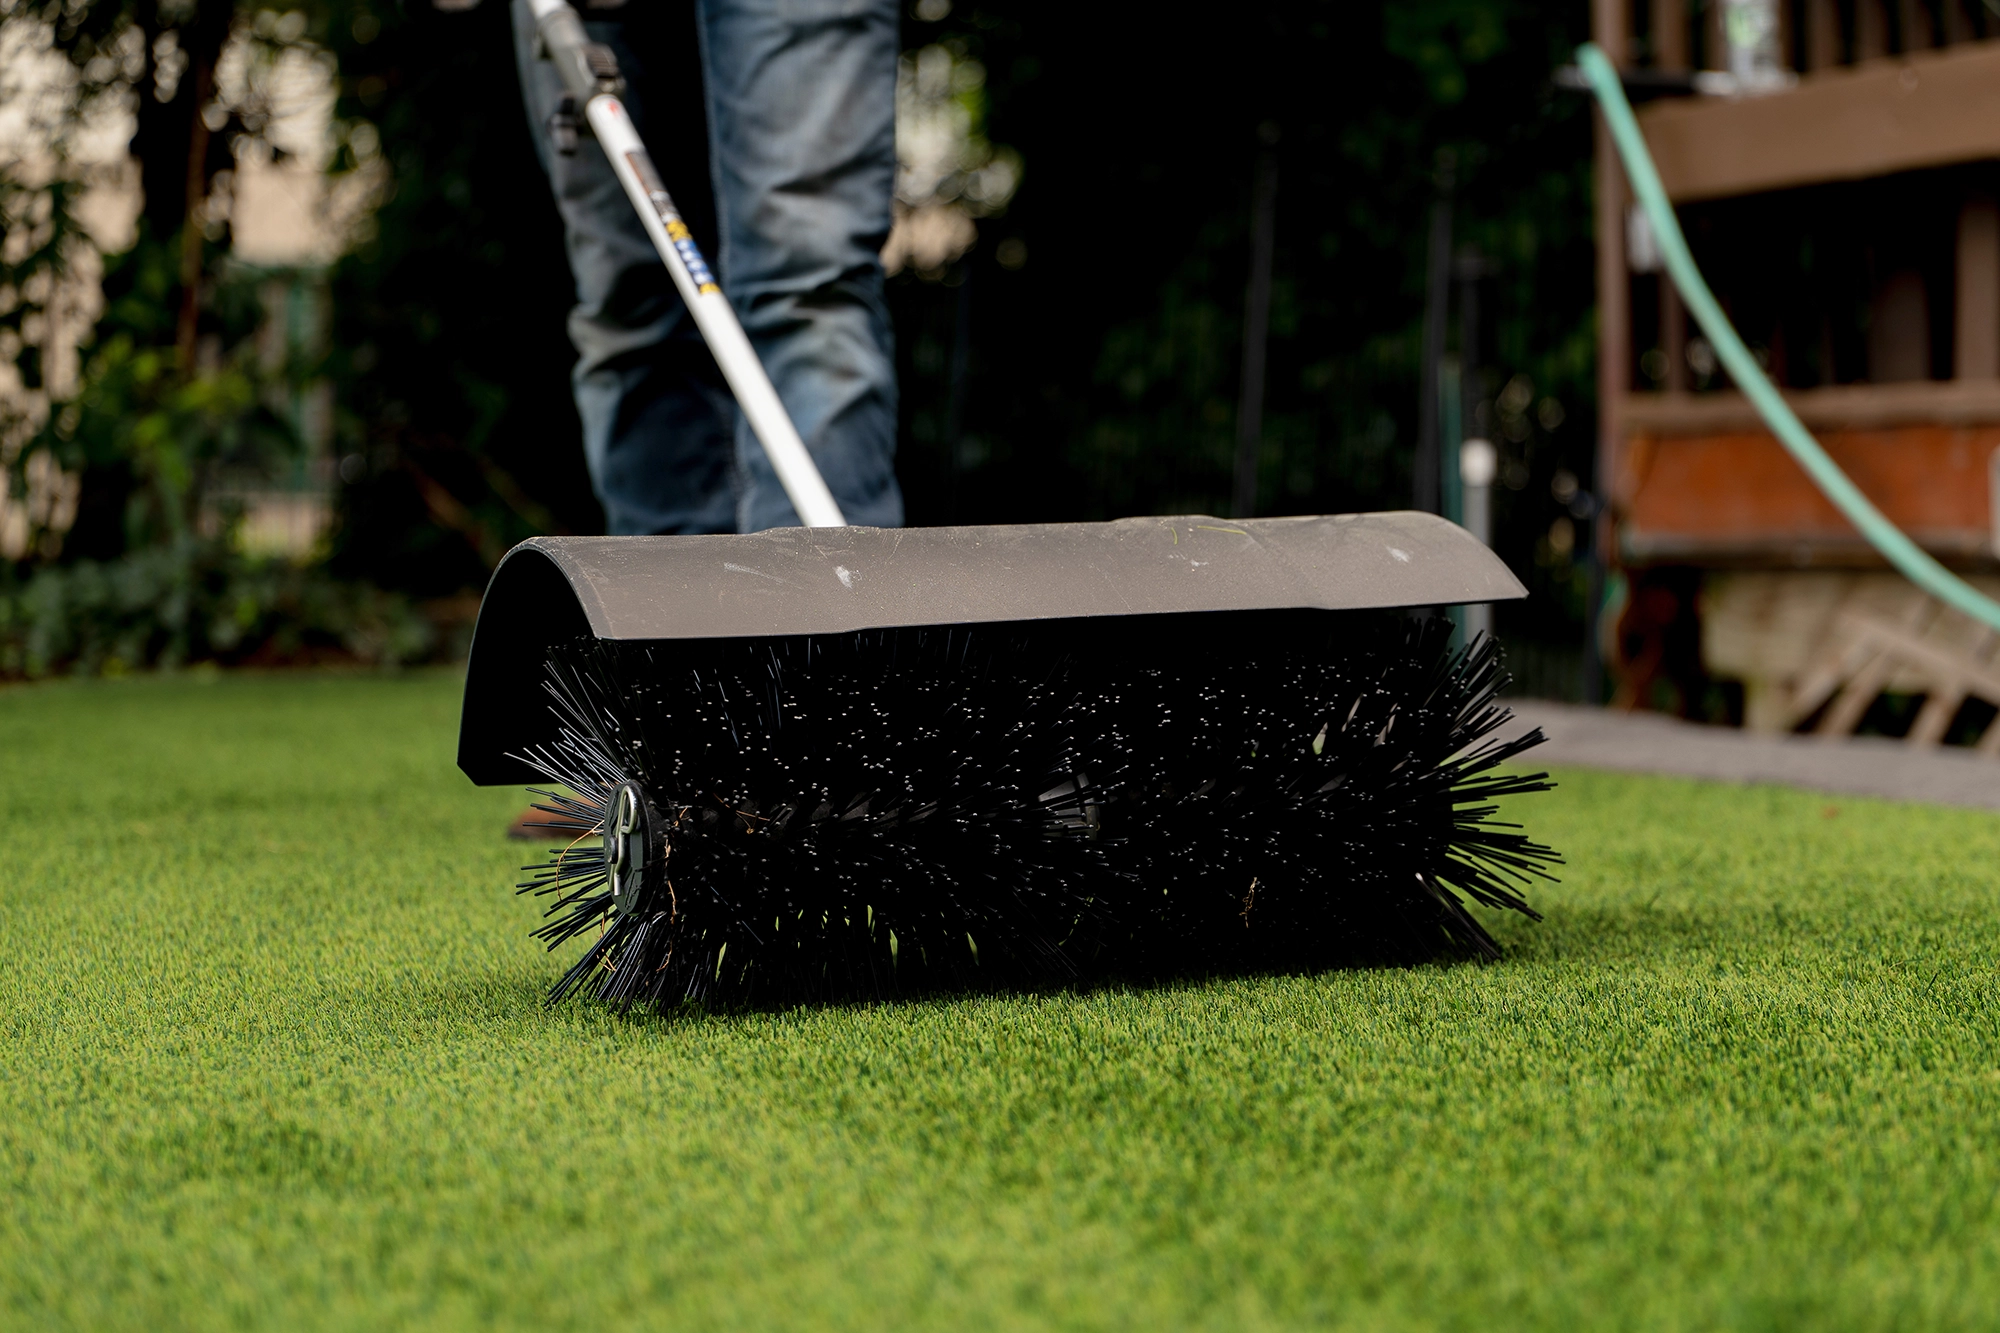
It is recommended to brush and add GATOR XTURF INFILL SAND need be, twice a year to ensure a long lasting and lush surface for your project.
- In the fall to remove any remaining leaves and other debris with the help of an artificial turf rake. Adding a fresh coat of GATOR XTURF INFILL SAND as needed.
- In the spring to straighten the blades flattened by snow, removing any pet waste and watering down the dirty grass blades. When dry, add in a layer of GATOR XTURF INFILL SAND GATOR ZEO-WHITE.
- Adding a fresh coat of GATOR XTURF INFILL SAND as needed.
| Product | Size |
|---|---|
| GATOR XTURF CLASSIC BLEND | Gator Forest Green or Gator Lime Green Rolls of 7.5’ X 25’ (2.3 m x 7.6 m) = 95 lb (43 kg) |
| GATOR XTURF CLASSIC BLEND | Gator Forest Green or Gator Lime Green Rolls of 7.5’ X 50’ (2.3 m x 15.3 m) = 190 lb (86 kg) |
| GATOR XTURF CLASSIC BLEND | Gator Forest Green or Gator Lime Green Rolls of 15’ X 33’ (4.6 m x 10.1 m) = 251 lb (114 kg) |
| GATOR XTURF CLASSIC BLEND | Gator Forest Green or Gator Lime Green Rolls of 15’ X 100’ (4.6 m x 30.5 m) = 760 lb (344 kg) |