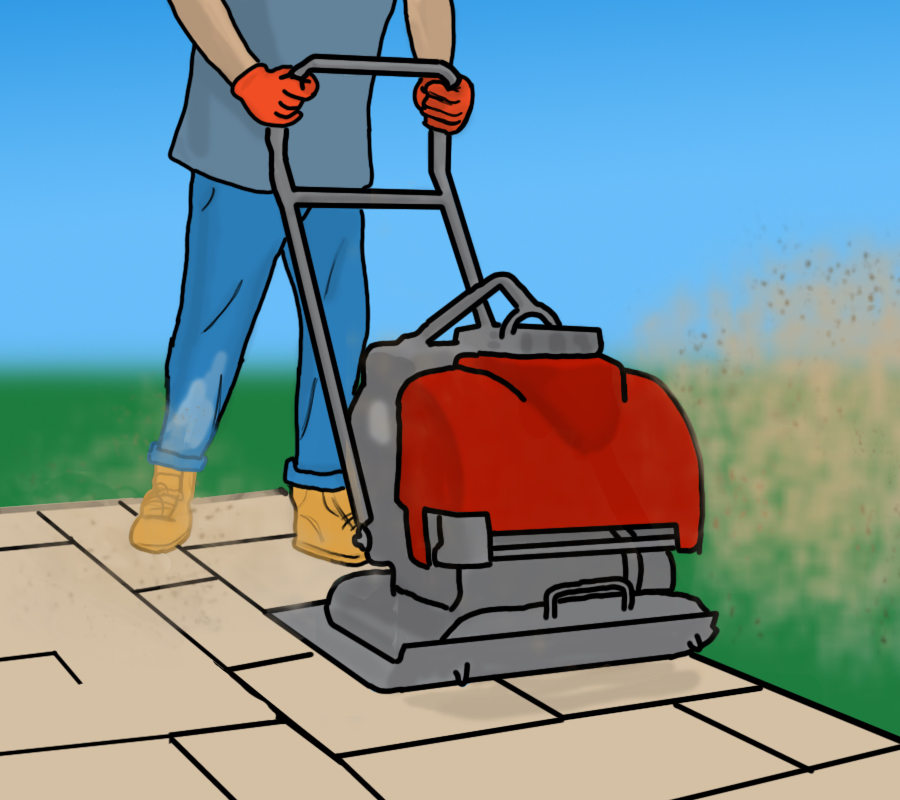
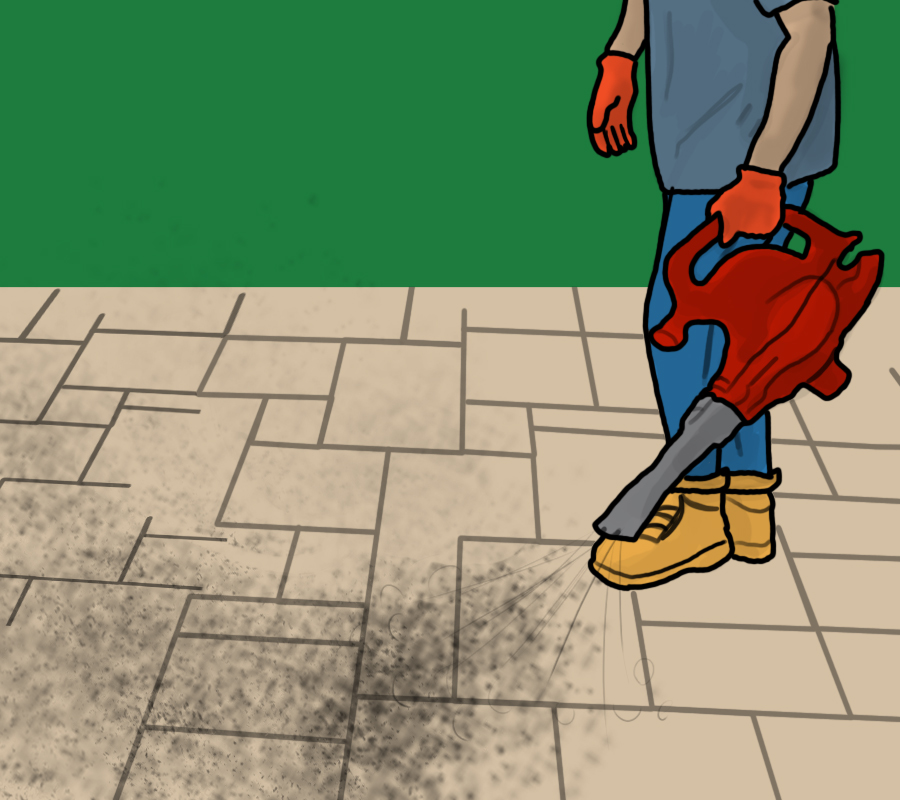
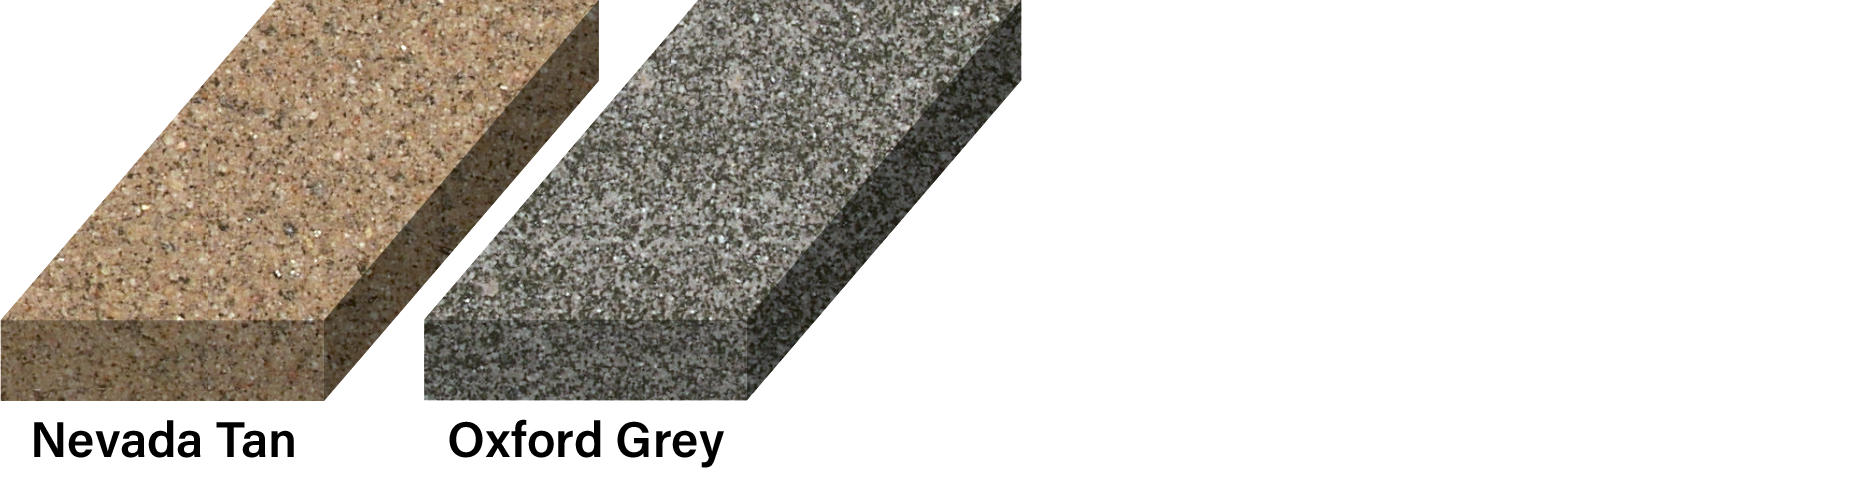
POLYBIND COMPLETE is a unique mixture of polymer binders and calibrated sand available in Nevada Tan and Oxford Grey. The installation of the polymeric sand POLYBIND COMPLETE is almost identical to using regular paver joint sand except for the application of water. Once POLYBIND COMPLETE sets, it becomes very firm and locks between the paver joints while still retaining flexibility and providing a long lasting, durable jointing material. POLYBIND COMPLETE is recommended for a variety of uses including pool decks, patios, footpaths, driveways, parking spaces, pavements, etc. Offered in USA Only.

- Concrete pavers, natural stone, wet cast products and clay pavers
- Residential and commercial use
- Streetscape, commercial work, steep slope, pool areas, patios, walkways, driveways and parking areas
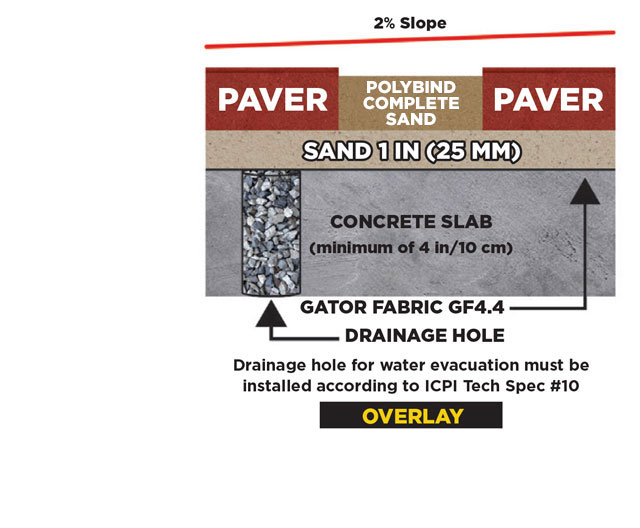
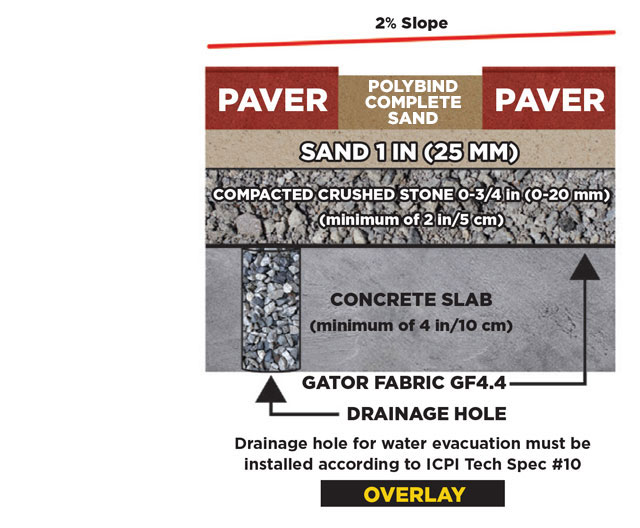
- Traditional applications and overlay applications
- Advanced Haze Free Technology
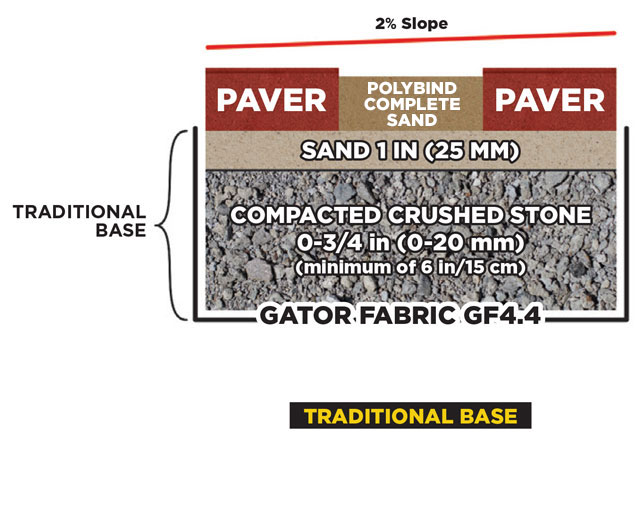
- Can be used for joints up to a maximum of 2 inches (5 cm)
- For overlay, traditional, residential and commercial applications
- For Traditional application, rain safe 1 hour after water activation
- For Overlay application, rain safe 24 hours after water activation
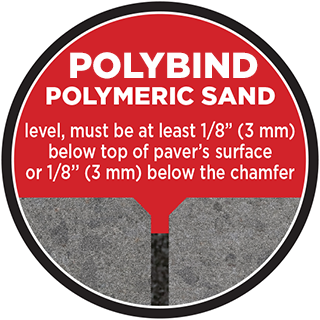
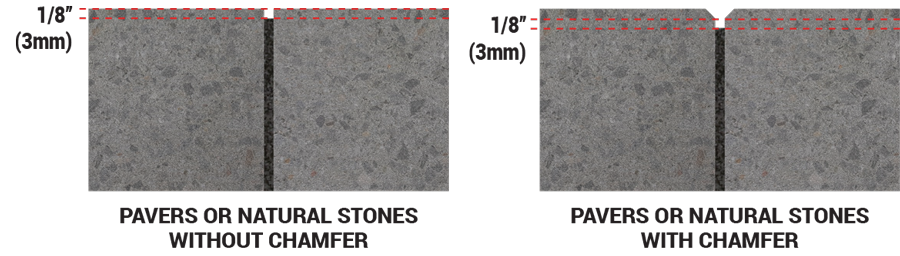
- ASTM C-144 gradation allows use in even the tightest joints
- OSHA silica crystalline compliant (OSHA 29 CFR 1926.1153)
- Can be used on false joint pavers
- Works above 32°F (0°C)
- Ideal for Gator Base panels
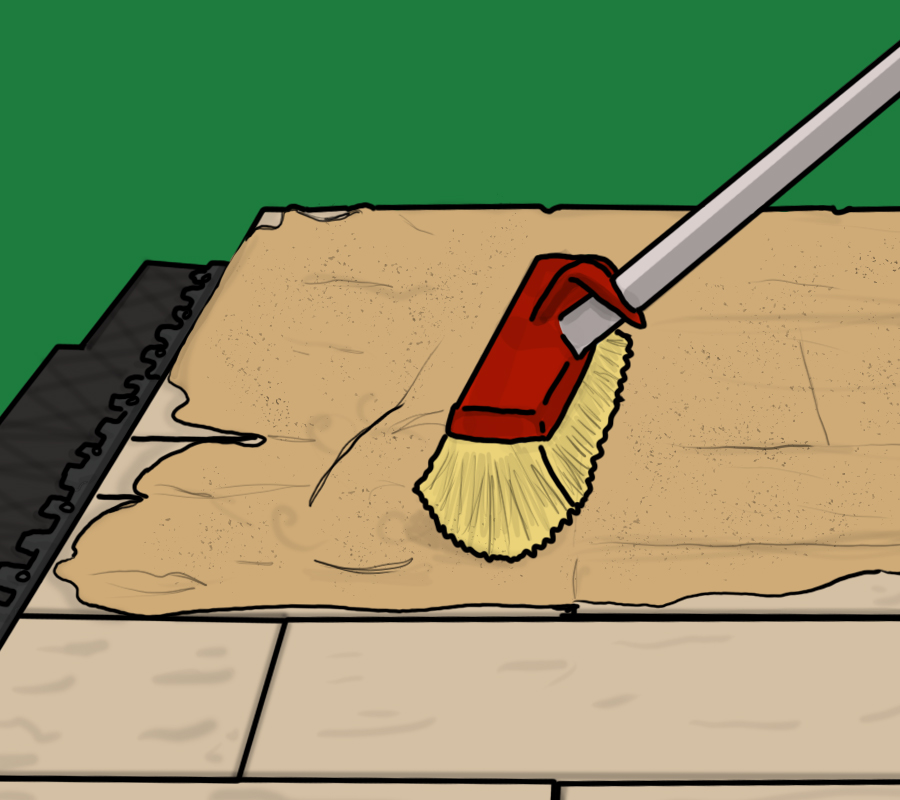
- Waterproof bags: Lay bag flat on its back, so front of the bag is facing you

- Helps prevent weeds and damage caused by burrowing insects
- Helps prevent erosion due to wind, rain and freeze/thaw cycles

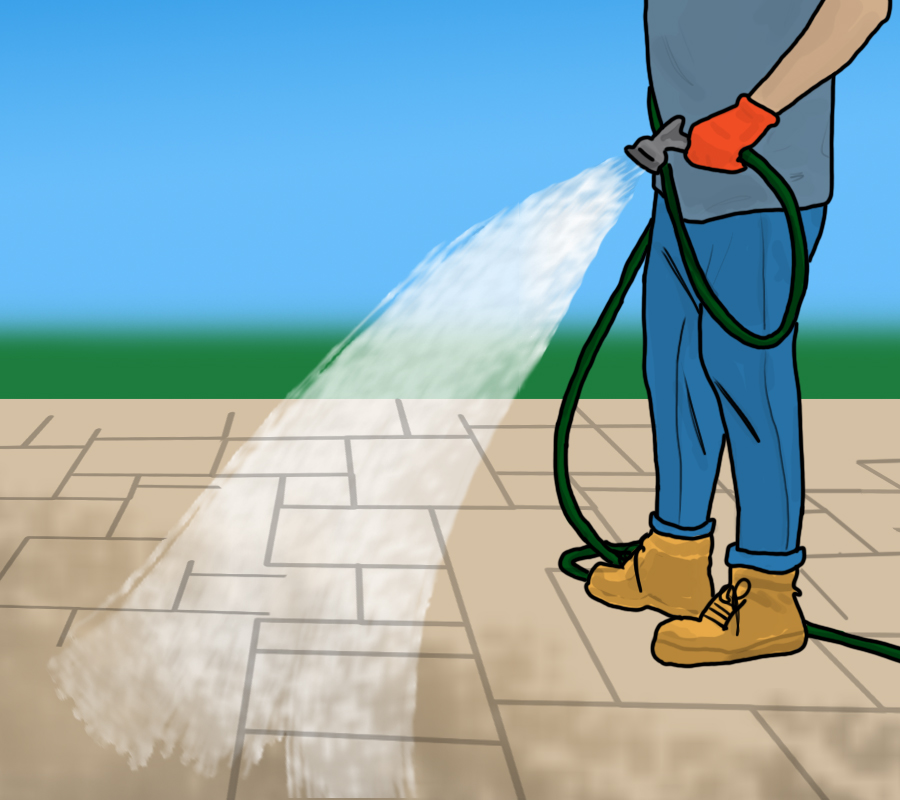
When maintaining the paver surface, apply Gator Shampoo to clean the entire paved surface including the paver joints. Wash, rinse and remove any residue by using a hose and a watering gun set to shower with the normal maximum water pressure from any residential or commercial building (typically 80 psi/550 kPa).
Moss
POLYBIND COMPLETE will not cause nor prevent moss, mold or mildew. Moss, mold and mildew are caused by certain on site conditions including excess moisture, shade, absence of ventilation, inadequate cleaning or maintenance, presence of soil or other organic debris left on the product.
Clay Pavers
If used on clay pavers make sure they are 100% dry. Clay pavers tend to hold moisture, which can prematurely activate the POLYBIND COMPLETE while the sand is being spread over the paver surface, leaving a residue (always apply on a test area before using the POLYBIND COMPLETE on clay pavers).
| Per 50 lb (22.7 kg) bag (Paver 2-3/8″ (6 cm) in height) | NARROW JOINTS 1/8″ to 3/8″ (3-9 mm) | WIDE JOINTS 3/4″ to 1-1/4″ (19-32 mm) |
|---|---|---|
| Nevada Tan, Oxford Grey | 65-85 sq. ft. (6-7.4 sq. m.) | 22-42 sq. ft. (2-3.9 sq. m.) |
| Product | Size | Units per Pallet |
|---|---|---|
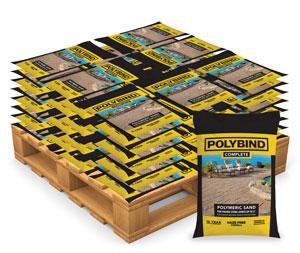
| POLYBIND COMPLETE – Nevada Tan | 50 lb (22.7 kg) | 56 USA |
| POLYBIND COMPLETE – Oxford Grey | 50 lb (22.7 kg) | 56 USA |