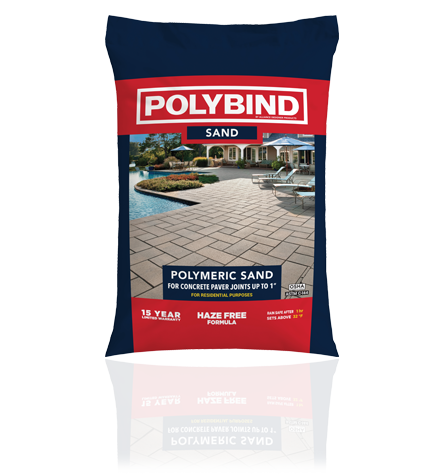
For concrete paver joints up to 1" (2.5 cm) in traditional applications

setting time 1hr
sets above 32°F (0°C)


Quantity required depends on the shape and size of the concrete pavers as well as the width of the joints.
| Per 50 lb (22.7 kg) bag (Paver 2-3/8” (6 cm) in height) | NARROW JOINTS 1/8” to 3/8” (3-9 mm) | WIDE JOINTS 3/4” to 1” (19-25 mm) |
|---|---|---|
| Sandy Beige, Graphite Grey | 65-85 sq. ft. (6-7.9 sq.m.) | 22-42 sq. ft. (2-3.88 sq. m.) |
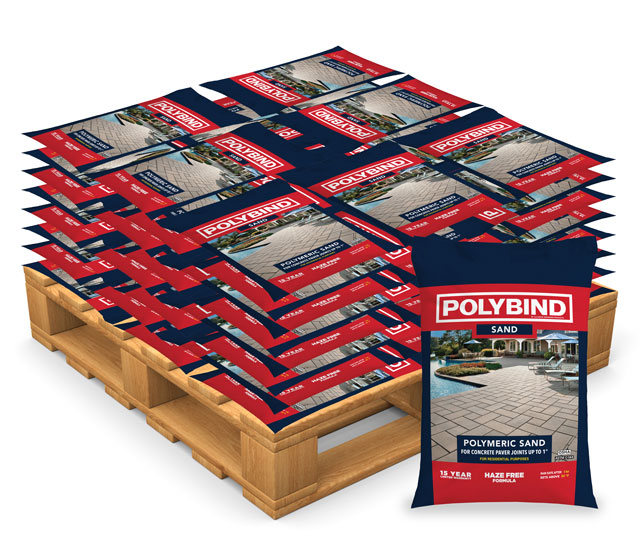
| Product | Size | Units per Pallet |
|---|---|---|
| POLYBIND SAND – Nevada Tan | 50 lb (22.7 kg) | 56 |
| POLYBIND SAND – Oxford Grey | 50 lb (22.7 kg) | 56 |
Maximum joint width: 1″ (2.5 cm)

POLYMERIC SAND REQUIREMENTS
Minimum joint width: 1/8″ (3 mm)
Maximum joint width: 1″ (2.5 cm)
Minimum joint depth: 1 1/2″ (38 mm)
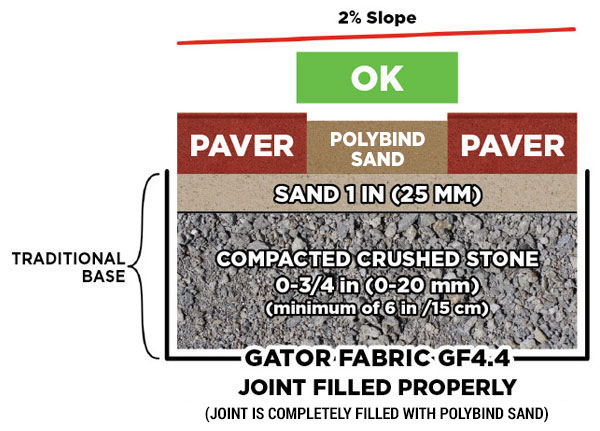
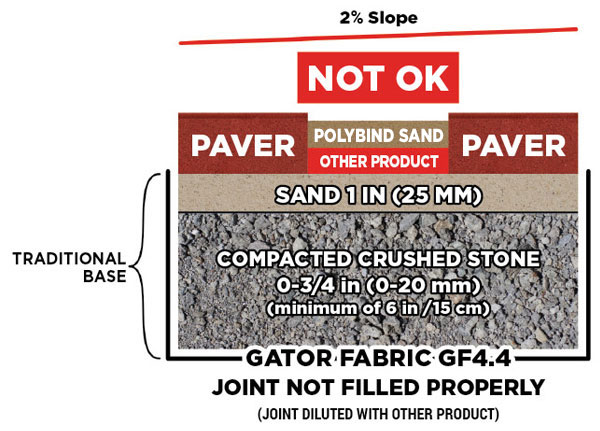
Sand or ASTM No. 9 Stone can be used under pavers
NEVER USE POLYBIND SAND WHEN PAVERS ARE INSTALLED ON A CONCRETE SLAB. INSTEAD, USE POLYBIND COMPLETE SAND.
Spread POLYBIND SAND polymeric sand with hard-bristle broom. Make sure the POLYBIND SAND completely fills the joints. Do not use other materials in the joints.
Leave a layer of POLYBIND SAND on the surface to aid in vibrating and consolidating POLYBIND SAND polymeric sand into joints. For textured or pre-finished surfaces, we recommend to remove all the polymeric sand from the paver or slab surface prior to using the plate or roller compactor.
Vibrate the POLYBIND SAND into the paver joints using a vibratory plate or roller compactor. A rubber pad is recommended. A roller compactor is best for slab installation.
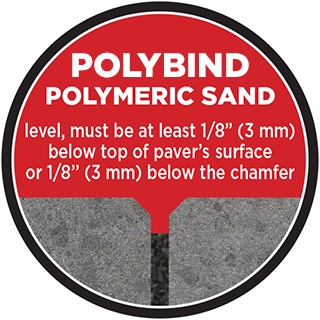
Sweep off excess POLYBIND SAND polymeric sand from the paved surface, first with a hard-bristle broom, then a soft bristle broom. Joints sand level, must be at least 1/8″ (3 mm) below top of paver’s surface or 1/8″ (3 mm) below the chamfer.
Use a leaf blower to remove all remaining POLYBIND SAND residue from the paver surface.
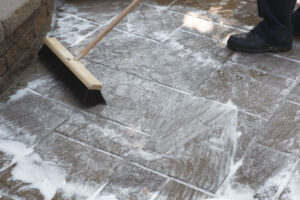
Shower and rinse simultaneously on a section of approximately 100 sq. ft. (10 sq. m.) so as to eliminate any POLYBIND SAND residue left on the pavers. Any POLYBIND SAND residue should go directly into the paver joints. Wait no longer than 2 to 3 minutes. Proceed to STEP 9.
Shower and rinse simultaneously, so as to eliminate any POLYBIND SAND residue. Any residue should go directly into the paver joints. However, stop showering when you see water retention on the paver joints. Wait no longer than 2 to 3 minutes. Proceed to STEP 10. Note: Repeat the directions of steps 7 to 9 for all other areas that have not been showered with water.
Use a leaf blower to remove any excess water remaining on the paver pores and crevices. This blowing action is necessary to help remove any remaining POLYBIND SAND residue left on paver surfaces from the previous steps. Note: POLYBIND SAND, sets within 1 hour after water activation at above 32ºF (0ºC) (No rain should occur within 1 hour after water activation).
The water used in steps 7 to 9 will activate a bonding action as well as condensing POLYBIND SAND in the joints. It is important to water the POLYBIND SAND a total of 3 times, as per steps 7, 8 and 9. Too little water will not properly activate the POLYBIND SAND and will reduce the final performance. If steps 7 to 10 are not done properly, a white haze may appear on paver surface after installation. This is due to excess POLYBIND SAND residue left on paver surfaces. This haze will dissipate over time, or it could be removed by using Gator Clean Efflorescence Cleaner.
Remove existing jointing material. Be careful not to disturb the bedding material under the pavers. Pavers must be completely dry before installing a minimum of 1 1/2″ (38 mm) deep into the joints. POLYBIND SAND level, must be at least 1/8″ (3 mm) below top of paver’s surface or 1/8″ (3 mm) below the chamfer or erosion may occur. The filled and cured polymeric sand joints should never be in direct contact with foot traffic or tires. Follow POLYBIND SAND installation steps 1 to 10 for a new paver surface.


Jeudi 21 Mars
1 : 00 PM
Mercredi 20 Mars
1 : 00 PM