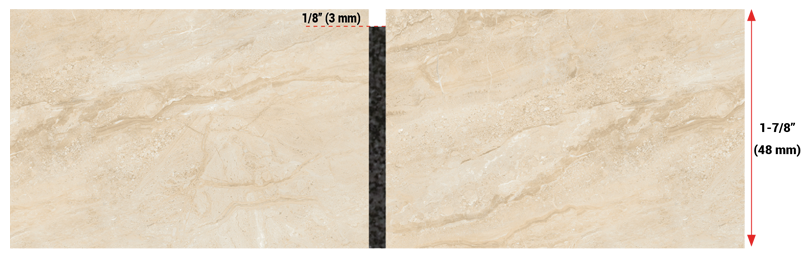
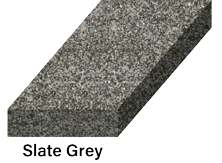
EUROSTONE BOND is the first polymeric sand, that meets ASTM C144 gradation, specifically designed for natural stone pavers. It can be used in an application for traditional and overlay base systems. It is perfect for stone roads, piazzas, driveways, pathways & stone apron driveways. This complete multipurpose sand is available in one color, slate grey. It sets above the freezing temperature 32°F (0°C) and can be used for joints up to a maximum of 1.5” (3.8 cm) wide.


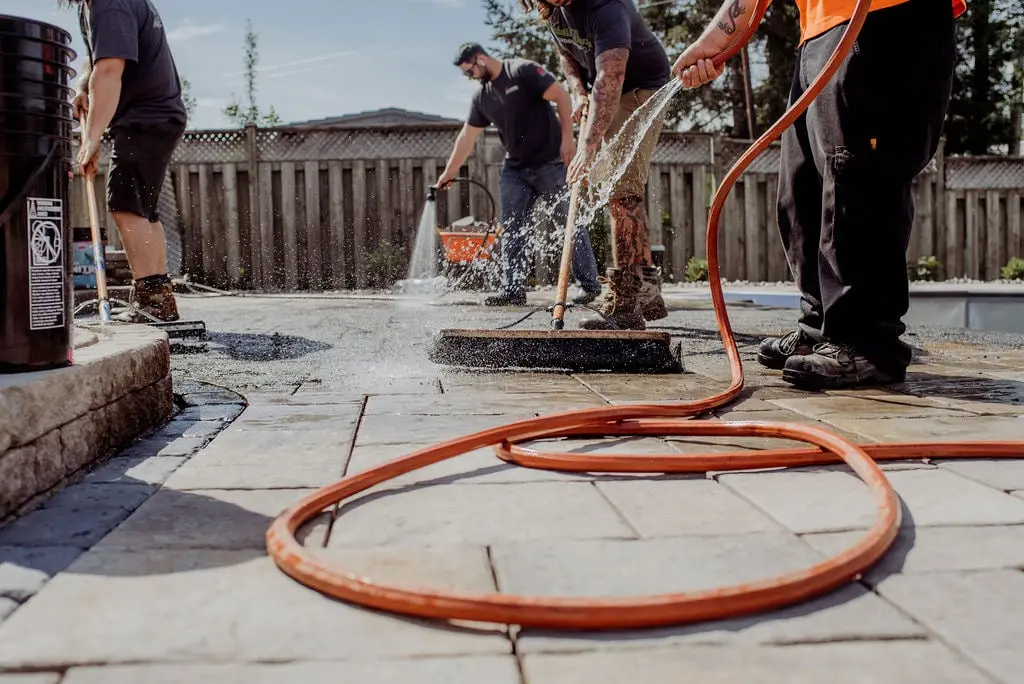
When maintaining the paver surface, apply Gator Shampoo to clean the entire paved surface including the paver joints. Wash, rinse and remove any residue by using a hose and a watering gun set to shower with the normal maximum water pressure from any residential or commercial building (typically 80 psi / 550 kpa).
EUROSTONE BOND is not recommended for clay pavers. For clay pavers, we recommend Polybind Complete Sand G2. If Polybind Complete Sand G2 is used on clay pavers, make sure they are 100% dry. Clay pavers tend to hold moisture, which can prematurely activate the Polybind Complete Sand G2 while the sand is being spread over the paver surface, leaving a residue. Always apply on a test area before using the Polybind Complete Sand G2 on clay pavers.
EUROSTONE BOND will not cause nor prevent moss, mold or mildew. Moss, mold and mildew are caused by certain on site conditions, including excess moisture, shade, absence of ventilation, inadequate cleaning or maintenance, presence of soil or other organic debris left on the product.
Quantity required depends on the shape and size of the natural stone pavers as well as the width of the joints.
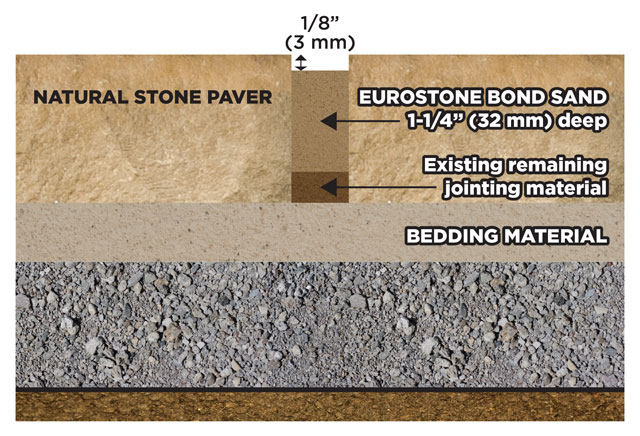
| Per 50 lb (22.7 kg) bag (Stone Paver 2-3/8″ (6 cm) in height) | Narrow Joints 1/8″ to 3/8″ (3-9 mm) | Wide Joints 3/4″ to 1-1/4″ (19-32 mm) |
|---|---|---|
| Slate Grey | 70 – 90 sq. ft. (6.6 – 8.1 sq. m.) | 24 – 26 sq. ft. (2.2 – 4.2 sq. m.) |
| Product | Size | Units per Pallet |
|---|---|---|
| EUROSTONE BOND – Slate Grey | 50 lb (22.7 kg) | 56 |


